Personalised Photo Coasters on Ceramic Tiles
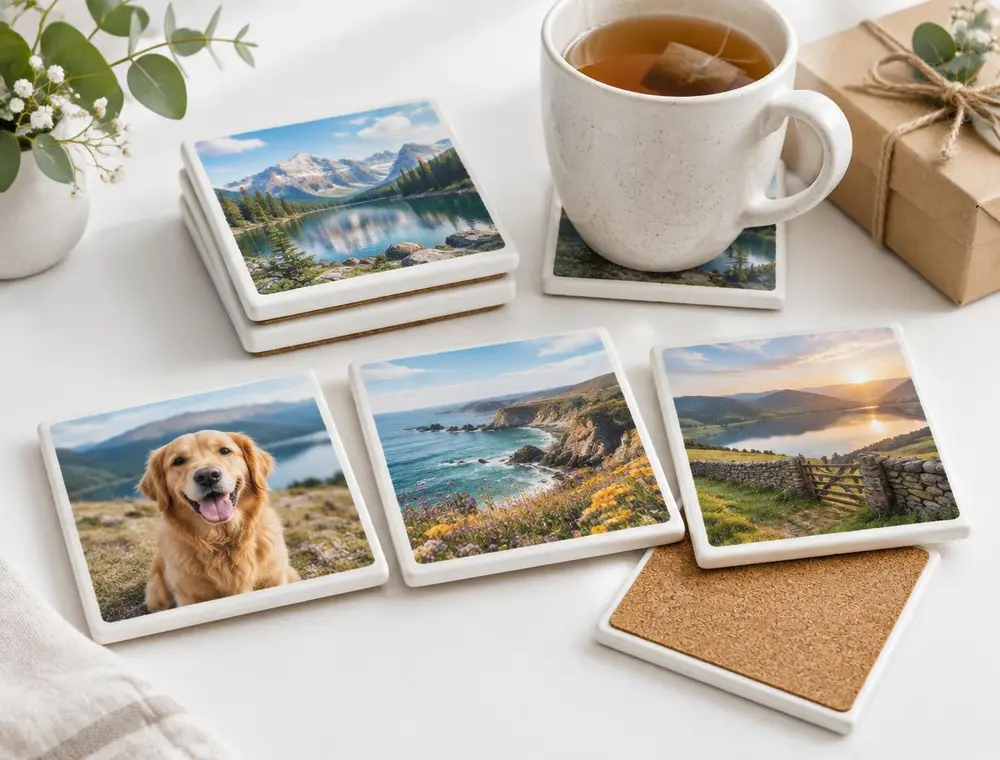
Transfer favourite photos onto plain ceramic tiles with a gel medium, seal them and add cork backs for a gift that gets used every day.
- Difficulty
- Easy
- Time
- 2 hours plus overnight drying
- Published
Introduction
Photo coasters are one of those gifts people keep on the coffee table for years. A pet, a favourite holiday view or a family picture becomes something useful rather than another file on a phone.
This method uses a photo transfer medium, which moves the ink from a laser print onto the tile and leaves the paper behind. It gives a slightly soft, vintage look. If you prefer a sharp, glossy finish, see the FAQ for a simpler decoupage method.
Materials Required
- 4 plain white ceramic tiles, 10 × 10 cm, matt or satin finish
- 4 photos printed on a laser printer (not inkjet), sized to fit the tiles
- Photo transfer medium or gel medium
- A soft flat brush
- A sponge and a small bowl of water
- Water-based clear sealer suitable for coasters, or a heat-resistant varnish
- Self-adhesive cork or felt squares for the backs
- A credit card or plastic scraper
Step-by-Step Instructions
Step 1: Print and trim the photos
Print the photos with a laser printer or at a copy shop. Images must be mirrored if they include text, since the transfer reverses the picture. Trim each print just smaller than the tile.
Step 2: Apply the transfer medium
Clean the tiles with a little rubbing alcohol. Brush an even, generous layer of transfer medium on the front of the photo, enough to look milky all over without pooling.
Step 3: Press the photo onto the tile
Place the photo face down on the tile. Smooth from the centre outwards with a credit card to push out air bubbles. Wipe off any medium that squeezes out at the edges.
Step 4: Let it dry overnight
Leave the tiles flat for at least 12 hours. The medium must be fully dry or the image will lift with the paper in the next step.
Step 5: Rub away the paper
Wet the paper with a damp sponge and wait a minute. Gently rub with your fingertips in small circles; the paper will roll away and the image will appear. Let it dry, then repeat to remove the last white haze of fibres.
Step 6: Seal and add backs
Brush on two or three thin coats of clear sealer, letting each coat dry in between. When fully cured, stick cork or felt squares to the back to protect tables.
Helpful Tips
- Photos with strong contrast and simple backgrounds transfer best.
- Rub gently at the corners; that is where images most often tear.
- A soft, slightly worn edge looks charming, so do not worry if the border is not perfect.
- Wrap the set with twine and a sprig of greenery for a simple gift presentation.
Safety Instructions
- Use sealers in a well-ventilated room and follow the label.
- Coasters are for drinks, not for food contact or hot pans.
Frequently Asked Questions
Why must I use a laser print?
Inkjet ink is water-based and smudges when wet, so it will not transfer cleanly. Laser toner is fixed to the paper surface and moves onto the medium.
Is there an easier method?
Yes. Print the photo on thin paper, glue it on with decoupage glue, then seal over the top. The photo stays sharper, but the paper texture remains visible.
Are the coasters waterproof?
With a good sealer they handle condensation from cups. Wipe them with a damp cloth; do not soak them or put them in the dishwasher.
Conclusion
A set of four photo coasters is a personal gift that does not take days to make. Try a themed set, such as four seasons of the same view, or one photo per family member.
Related articles
More diy gift ideas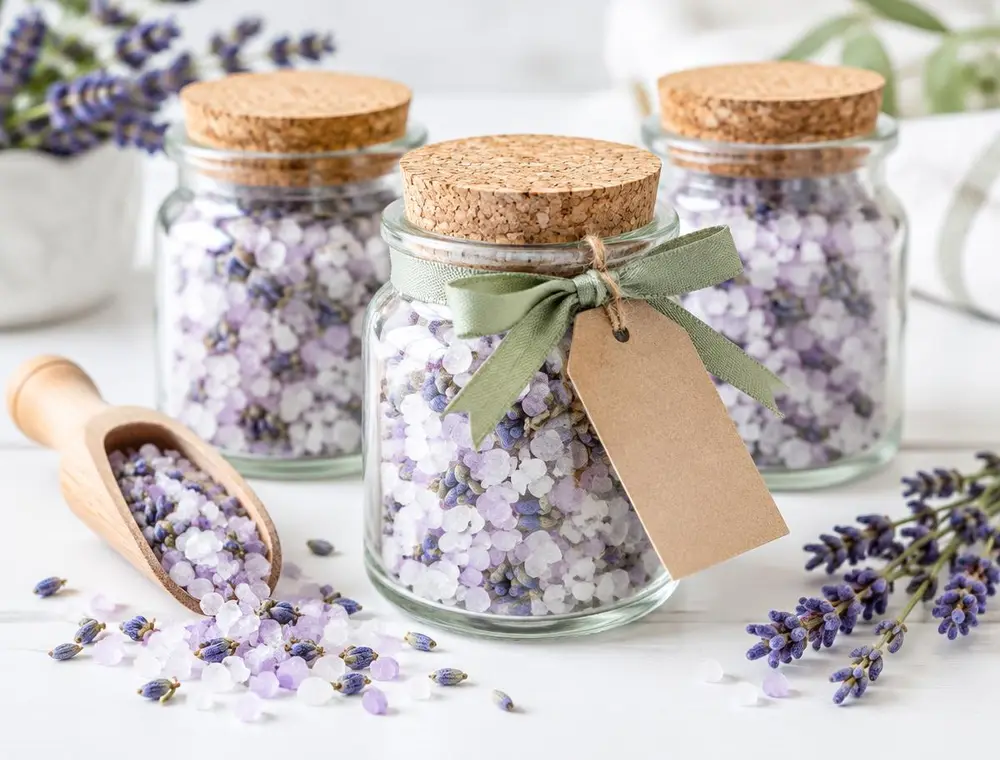
Homemade Lavender Bath Salts in Gift Jars
Mix Epsom salt, sea salt, dried lavender and a few drops of essential oil for a relaxing, easy gift you can make in under an hour.
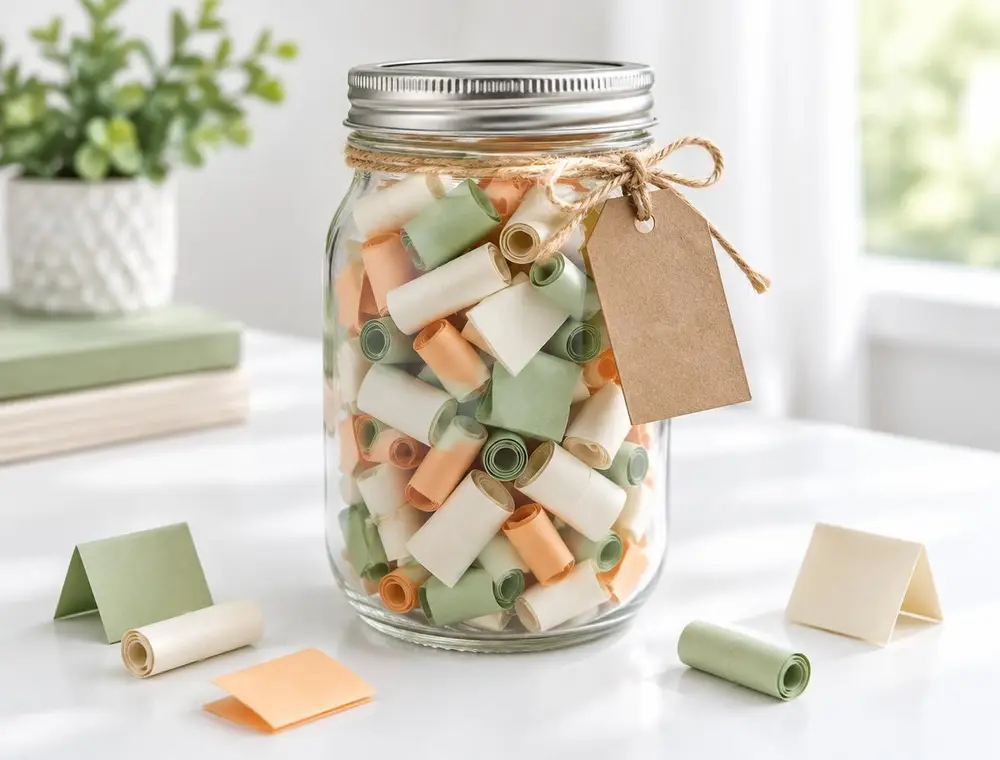
A Jar of 52 Notes: A Thoughtful Memory Jar Gift
Fill a jar with 52 handwritten notes, one for every week of the year. It costs little and means a lot to the person who opens it.
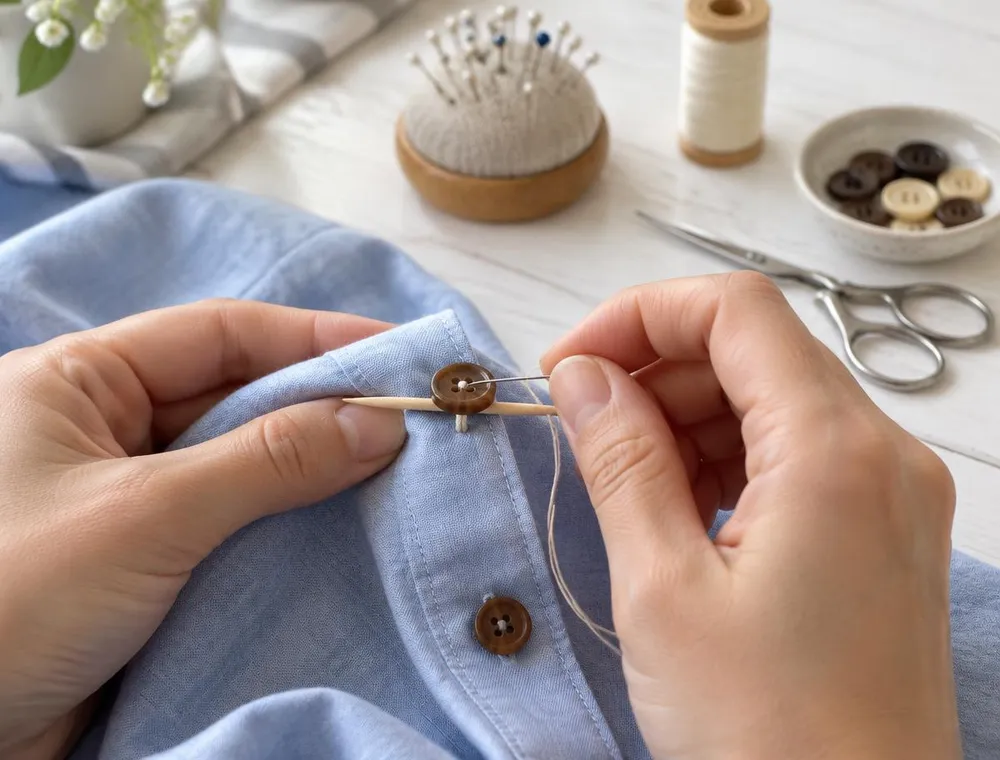
How to Sew a Loose Button Properly
A wobbly button is a quick fix once you know the method. Choose the right thread, mark the exact spot and build a small thread shank so the button stays on and still fits the buttonhole.