How to Sew a Loose Button Properly
A wobbly button is a quick fix once you know the method. Choose the right thread, mark the exact spot and build a small thread shank so the button stays on and still fits the buttonhole.
- Difficulty
- Easy
- Time
- 15–20 minutes
- Published
Introduction
Buttons rarely fall off at a convenient moment. Usually you notice the thread has worked loose just as you are getting dressed, and the button is hanging by a single strand. The temptation is to push it back on with a few quick stitches, but a rushed repair tends to come undone again within a week or two, often in the same place.
The good news is that sewing a button on properly takes only a little longer than doing it badly. The real difference comes down to three things: using thread that is strong enough, putting the button back exactly where it was, and leaving a tiny gap between the button and the fabric so the buttonhole has room to sit around it. That gap, called a thread shank, is the detail most beginners skip, and it is the reason many home repairs feel tight and pull loose.
This guide covers flat buttons with two or four holes, the kind found on shirts, trousers, cardigans and most coats. There is also a tip on shank buttons, the ones with a small loop on the back. You don't need a sewing machine or any special skills, just a needle, thread and a few quiet minutes.
Materials and Tools
Materials
- The loose button, or a replacement of the same size and number of holes (many garments have a spare sewn inside a seam or near the care label)
- All-purpose polyester thread in a colour that matches the existing button thread
- Heavy-duty or button thread for coats, jeans and thick jackets (optional)
- A small square of iron-on interfacing or a scrap of sturdy fabric, if the fabric under the button is torn (optional)
- Clear nail varnish or a seam sealant to secure the final knot (optional)
Tools
- A hand-sewing needle with an eye large enough for doubled thread but slim enough to pass through the button holes
- Small sharp scissors or thread snips
- A toothpick, matchstick or second sewing needle to use as a spacer
- A pin or tailor's chalk to mark the button position
- A needle threader and a thimble (optional, but helpful with thick fabrics)
Before You Start
- Pull out every scrap of old thread from the spot where the button was. Loose ends left behind get in the way of the new stitches and make it hard to see the original holes.
- Look closely at the neighbouring buttons. Notice the thread colour and the stitch pattern; four-hole buttons are usually sewn in two parallel lines or in a cross. Matching it makes the repair invisible.
- Check the fabric under the button. If there is a small hole or the weave has torn, reinforce it first (see the troubleshooting section), otherwise the new button will rip out too.
- Work somewhere with good light and lay the garment flat on a table. Sewing on your lap makes it easy to catch the back of the fabric or the lining by mistake.
Step-by-Step Instructions
Step 1: Choose and prepare the thread
For shirts, blouses and light trousers, ordinary all-purpose polyester thread is strong enough. For coats, denim and heavy cardigans, use button or heavy-duty thread, or make extra passes with normal thread. Cut a piece roughly the length of your arm, about 50–60 cm (20–24 inches). Longer thread feels efficient but tangles constantly, while shorter thread runs out before you finish.
Step 2: Thread the needle and double it
Push the thread through the eye of the needle, then pull it through until both ends meet. Tie the two ends together with a firm double knot. Using doubled thread means every pass through the button lays down two strands, so you need fewer stitches for a strong result. Snip off any tail longer than about 5 mm beyond the knot.
Step 3: Mark exactly where the button belongs
If you can still see the old thread holes, use those. If not, button up the garment, line up the two edges, then push a pin through the centre of the empty buttonhole into the fabric beneath. That pin marks where the middle of the button must go. A button placed even a few millimetres off will make the front pucker or hang crooked.
Step 4: Anchor the thread
Start from the wrong side of the fabric, or from the front directly under where the button will sit, so the knot stays hidden. Bring the needle up at your marked spot and take one tiny stitch on the spot, about 2 mm long, catching only the outer layer of fabric. Do this twice. These small anchor stitches stop the knot from pulling through loosely woven fabric.
Step 5: Position the button and a spacer
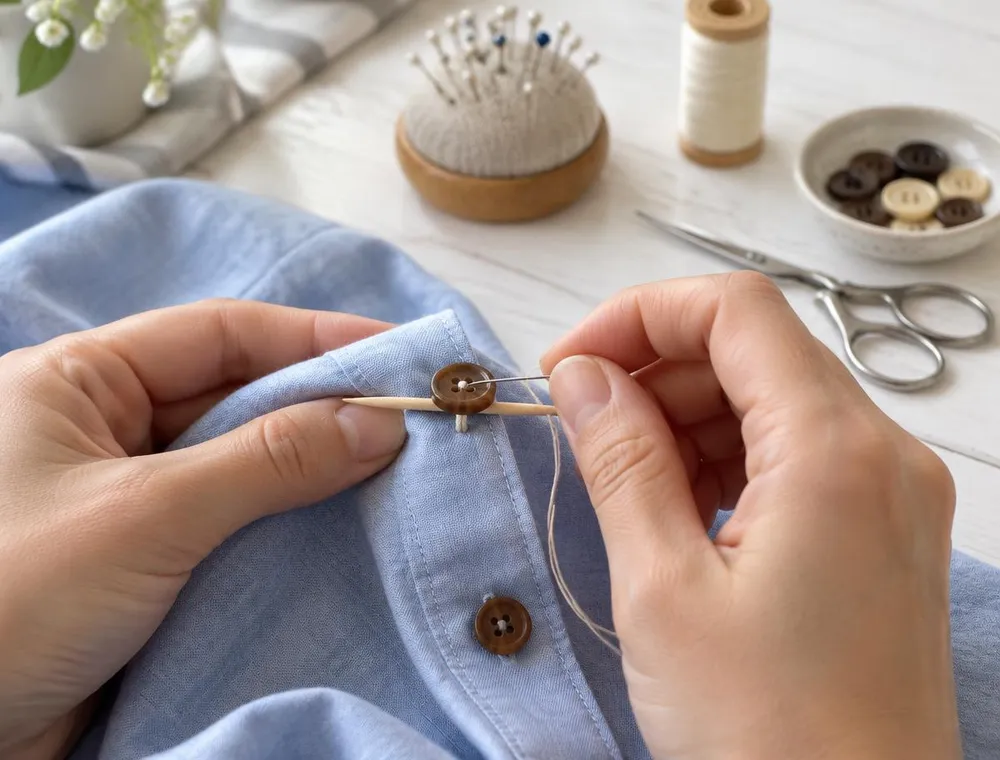
Bring the needle up through one hole of the button and slide the button down onto the fabric. Now lay a toothpick, matchstick or spare needle across the top of the button, between the holes. You will sew over this spacer. It holds the button slightly away from the fabric while you stitch, creating the slack you will turn into a shank later. For thin shirt fabric a needle is enough; for coats, use something thicker like a matchstick.
Step 6: Sew through the holes
Pass the needle down through the hole diagonally opposite (for a cross) or directly beside it (for parallel lines), going over the spacer, and pull the thread through to the back. Come back up through the first hole and repeat. Keep the tension firm but not tight. For a two-hole button, simply go up and down through both holes. Make four to six passes through each pair of holes with doubled thread, which gives eight to twelve strands, plenty for everyday wear.
Step 7: Finish the second pair of holes
On a four-hole button, move to the other pair of holes and make the same number of passes. For the last stitch, bring the needle up through the fabric under the button but not through a hole, so that the thread comes out between the button and the fabric. This is where the shank is made.
Step 8: Remove the spacer and wrap the shank
Slide the toothpick or needle out. The button will now sit a few millimetres above the fabric on a short column of threads. Lift the button gently and wind the thread around this column five or six times, pulling snugly each time. This wrapped stem is the thread shank. It bundles the stitches together, takes the strain when you button and unbutton, and gives the buttonhole fabric room to sit underneath.
Step 9: Tie off securely on the back
Push the needle through to the wrong side of the fabric. Make two or three small stitches through the existing threads behind the button, and as you pull the last one through, pass the needle through the loop of thread before it closes to form a knot. Repeat once more. Trim the thread close to the knot. If you like, add a tiny dot of clear nail varnish or seam sealant to the knot and let it dry before wearing.
Step 10: Test the fit
Button the garment and move around in it. The button should pass through the hole without forcing and sit flat when closed, without pulling the fabric into a pucker. If it feels stiff, the shank may be too short; if it flops forward, it may be too long. Both are easy to fix and are covered in the troubleshooting section below.
Helpful Tips
- Run your thread over a block of beeswax, or even a plain candle, before sewing. It coats the fibres, reduces tangling and makes the stitches slightly stronger.
- If the thread starts to twist, let the needle hang down freely for a few seconds. It will spin and untwist on its own.
- Shank buttons, the ones with a loop on the back, don't need a spacer. Sew through the loop four to six times, keeping the loop lined up with the buttonhole direction, then tie off.
- On heavy coats, sew a small flat backing button on the inside directly behind the front button, stitching through both at the same time. It spreads the strain and protects the fabric.
- Can't find a matching button? Move one from a less visible spot, such as the bottom of a shirt that is always tucked in, and put the odd one there instead.
- Keep a small sewing kit with a few needles, a card of neutral threads and some spare buttons somewhere easy to reach. Repairs are much more likely to get done straight away.
Common Mistakes to Avoid
Sewing the button flat against the fabric
Without a shank, the buttonhole fabric has nowhere to sit, so it strains the threads every time you fasten it. Always use a spacer and wrap the shank, especially on thicker fabrics.
Using a single strand of thin thread
A single strand of all-purpose thread wears through quickly. Double the thread, and use heavy-duty thread or extra passes for coats and jeans.
Guessing the position instead of marking it
Even a small shift makes the garment sit unevenly. Mark the spot through the buttonhole with a pin before you start sewing.
Pulling every stitch very tight
Over-tight stitches pucker the fabric and leave no slack for the shank. Keep the tension firm and even, and let the spacer control the gap.
Catching the lining or the back of the garment
This happens easily when sewing on your lap. Lay the piece flat and slide your free hand inside to feel where the needle is coming through.
Troubleshooting
The thread keeps tangling and knotting as I sew
The thread is usually too long or twisting as you work. Cut a piece no longer than your arm, wax it lightly, and let the needle dangle to unwind every few stitches. If a knot forms, slide the needle into the loop and gently pull it open before tightening.
The button is very hard to push through the buttonhole
The shank is too short, or the button was sewn on flat. Snip the threads on the back, remove the button and sew it again over a thicker spacer, such as a matchstick instead of a needle.
The button droops and flops forward when fastened
The shank is too long. Unpick and resew using a thinner spacer, and wrap the shank a few more times so it is tighter and more upright.
The fabric under the button has a hole or tear
Cut a small square of iron-on interfacing, about 2 cm wide, and press it onto the inside behind the button area following the packet instructions. On fabric you can't iron, stitch a small patch of sturdy fabric on the inside. Sew the button through both layers so the strain is shared.
The needle won't fit through the button holes
Switch to a finer needle. If the doubled thread is too bulky for tiny holes, use a single strand of stronger thread instead and make a couple of extra passes.
The needle is hard to push through thick fabric
Use a thimble on your middle finger to push the needle from behind. For layered denim or wool, grip the needle with a rubber jar opener or a small piece of rubber glove to pull it through.
Safety Instructions
- Keep needles and pins in a pincushion or closed tin, never loose on a sofa or bed where someone could sit on them.
- Count needles and pins before and after you sew, especially in homes with small children or pets.
- Small buttons are a choking hazard for young children. Keep spare buttons in a lidded container out of reach.
- Snip thread with scissors rather than biting it, which can chip teeth.
Frequently Asked Questions
What is the best thread for sewing on a button?
All-purpose polyester thread works for most everyday clothing because it is strong and has a little stretch. For coats, jeans and bags, use heavy-duty or button thread. Cotton thread is fine on cotton shirts but is slightly weaker.
How many times should I sew through each hole?
With doubled thread, four to six passes through each pair of holes is plenty for a shirt. For a coat button that gets pulled a lot, go up to eight passes and add a backing button on the inside.
Do I really need a thread shank on a shirt?
On thin shirt fabric a very short shank is enough, so a sewing needle used as a spacer works well. It still makes buttoning easier and helps the threads last longer. On thicker fabrics, a proper shank is essential.
Should the stitches on a four-hole button be a cross or two lines?
Both hold well. Look at the other buttons on the garment and copy the same pattern so the repair blends in.
Can I use fabric glue instead of sewing?
Glue is not a good choice for buttons. It cannot form a shank, it often stiffens or stains the fabric, and it tends to fail in the wash. A few minutes of hand sewing gives a far better, longer-lasting result.
Why do buttons keep falling off new clothes?
Factory buttons are often sewn with a chain stitch that can unravel once one thread breaks. If you notice a loose button on a new garment, it is worth going over the others with a few extra stitches before they come off too.
More Projects to Try
How to Make a No-Sew Door Draft Stopper
Got a jumper too worn to mend? Its sleeves make a warm, simple draft stopper for the bottom of a door.
Hand-Stamped Canvas Tote Bag with Potato Stamps
Once you are comfortable with fabric, try printing your own designs onto a plain canvas bag.
Simple Macramé Plant Hanger Using Three Basic Knots
Enjoy working with your hands? Macramé uses a few simple knots to make something genuinely useful.
Conclusion
Sewing a button properly is one of those small skills that keeps paying off. Once you have done it a couple of times, the routine of marking the spot, using a spacer and wrapping the shank becomes second nature, and the repair will often outlast the original. Keep a little sewing kit handy, deal with loose buttons as soon as you spot them, and you will rescue plenty of favourite shirts and coats from the back of the wardrobe.
Related articles
More diy crafts
Simple Macramé Plant Hanger Using Three Basic Knots
Learn the gathering knot, square knot and half knot, then use them to make a sturdy hanger for a small pot.
Hand-Stamped Canvas Tote Bag with Potato Stamps
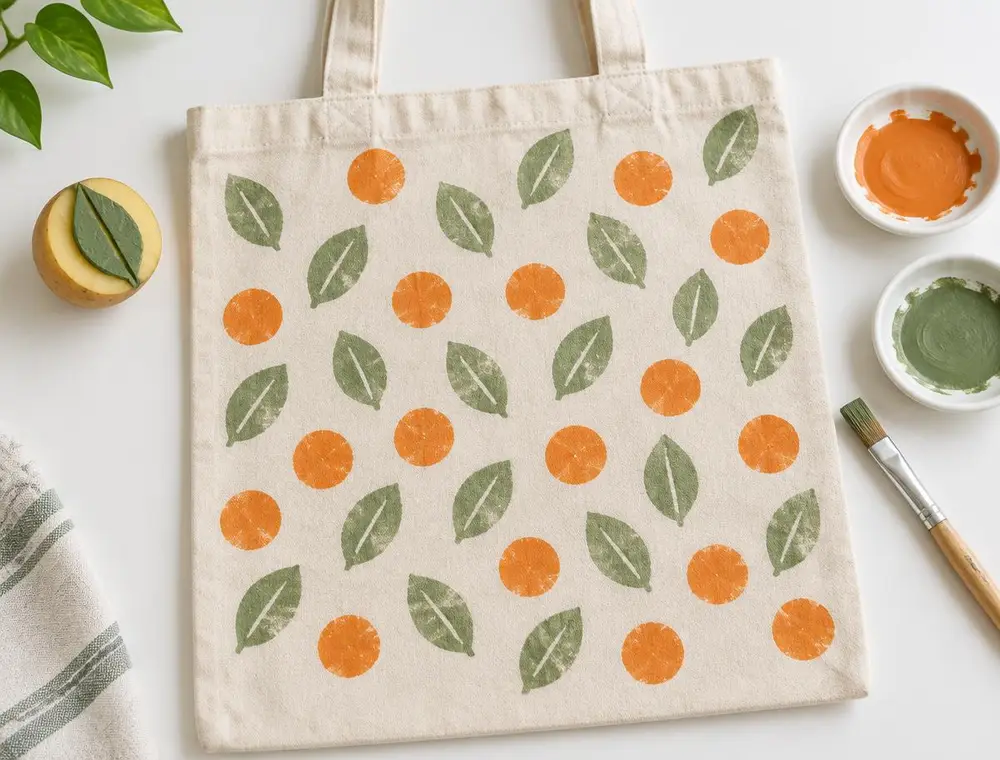
Carve simple shapes into a potato, print a pattern onto a plain tote with fabric paint and heat-set it so it survives the wash.
Paper Quilling Flower Wall Art for Beginners
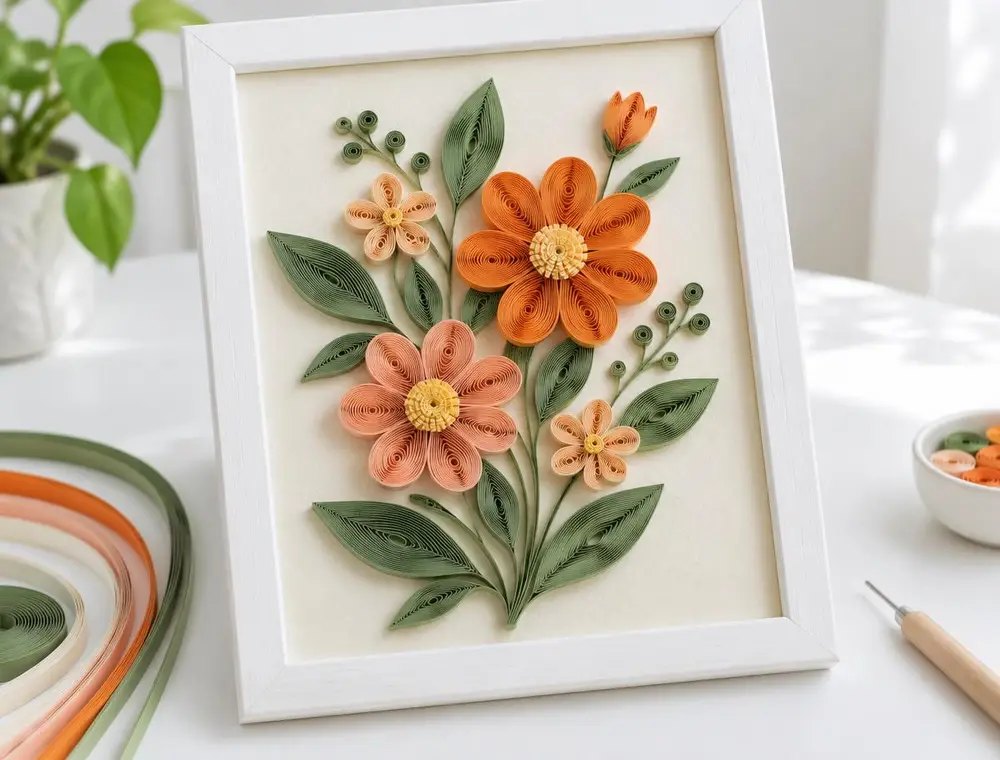
Roll thin paper strips into coils, pinch them into petals and build a framed flower picture that looks far more difficult than it is.