Hand-Stamped Canvas Tote Bag with Potato Stamps
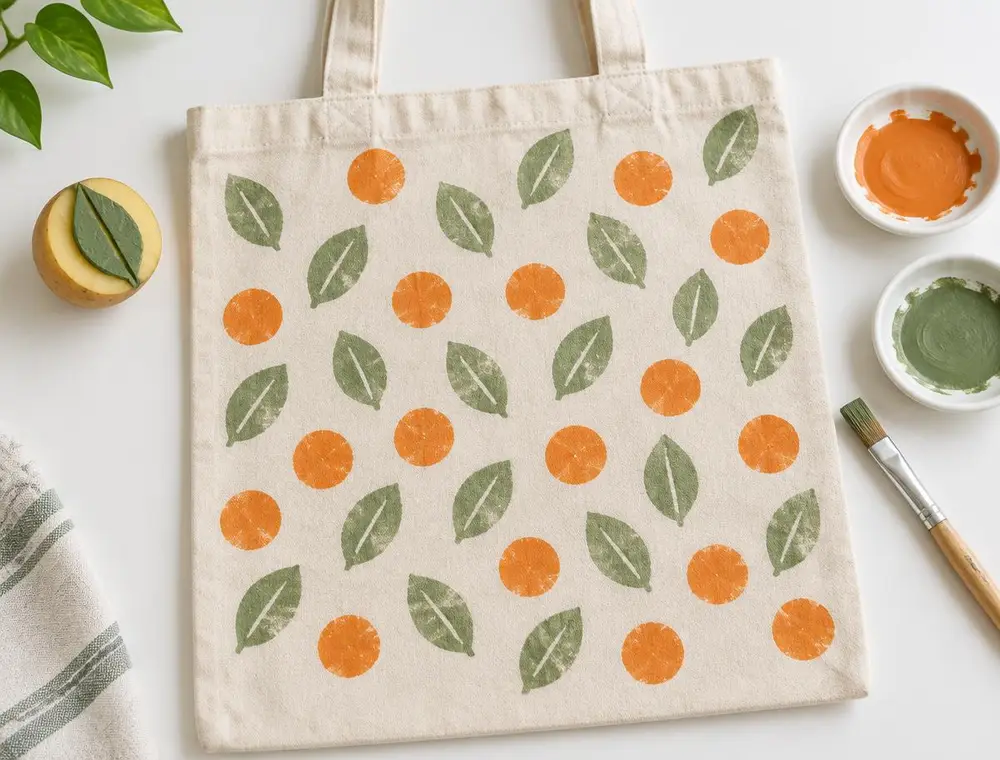
Carve simple shapes into a potato, print a pattern onto a plain tote with fabric paint and heat-set it so it survives the wash.
- Difficulty
- Easy
- Time
- 1.5 hours plus drying
- Published
Introduction
Potato printing is often seen as a nursery activity, but with fabric paint and a bit of planning it gives a bold, slightly rustic print that looks great on canvas. The texture of the potato adds a soft speckle to each shape, so no two prints are identical.
In this guide you will make two stamps, a circle and a leaf, and print an all-over pattern on a cotton tote bag. The same method works on tea towels, cushion covers and plain T-shirts.
Materials Required
- 1 plain cotton or canvas tote bag, washed and dried without fabric softener
- 2 large, firm potatoes
- Fabric paint in two colours (orange and sage green used here)
- A small sharp kitchen knife and a vegetable peeler
- A round cookie cutter or bottle cap (optional, for neat circles)
- Paper towels
- A foam brush or flat paintbrush
- A piece of cardboard to slip inside the bag
- An iron and a thin cotton cloth for heat-setting
Step-by-Step Instructions
Step 1: Prepare the bag
Wash and dry the tote first; new fabric often has a coating that stops paint from soaking in. Iron it flat and slide a piece of cardboard inside so paint does not bleed through to the back.
Step 2: Cut and dry the potatoes
Cut each potato in half with one clean, straight slice. A flat surface is important for an even print. Press the cut side onto a paper towel for a few minutes to soak up the moisture.
Step 3: Carve the stamps
For the circle, press a cookie cutter about 1 cm into the potato and cut away the potato around it. For the leaf, draw a leaf outline with a toothpick, cut around it to a depth of about 1 cm, then carve a thin line down the middle for the vein.
Step 4: Test on scrap fabric
Brush a thin, even layer of paint onto the stamp rather than dipping it. Press firmly onto an old cloth or paper for a count of three and lift straight up. Too much paint gives a blobby print; too little gives a patchy one. Adjust until you like the look.
Step 5: Print the pattern
Start with the circles, spacing them in loose diagonal rows. Re-apply paint before every print. Let the circles dry for ten minutes, then fill the gaps with leaves, turning the stamp at different angles for a natural look.
Step 6: Dry and heat-set
Leave the bag to dry for at least 24 hours, or as long as your paint label recommends. Then cover the print with a thin cotton cloth and iron on a cotton setting, without steam, for three to five minutes, moving the iron constantly. This fixes the paint so it holds up in the wash.
Helpful Tips
- Waxy potatoes hold fine details better than floury ones.
- Print one side, let it dry completely, then turn the bag over to print the back.
- Imperfect prints are part of the style. If a print is very faint, you can carefully touch it up with a small brush.
- Wash the finished bag inside out on a cool cycle to keep the print bright.
Safety Instructions
- Carving needs a sharp knife, so an adult should do the cutting when children join in. Always cut away from your hand.
- Keep the iron on a stable surface and unplug it when you are done.
Frequently Asked Questions
Can I use acrylic paint instead of fabric paint?
You can mix acrylic paint with a fabric medium, which makes it softer and more washable. Plain acrylic on its own will feel stiff and may crack.
How long do potato stamps last?
They are best used on the same day. Wrapped in cling film in the fridge, they will usually last until the next day.
Will the print wash out?
Not if you heat-set it properly. Wait at least a few days after heat-setting before the first wash.
Conclusion
A stamped tote makes a useful shopping bag and a nice handmade present. Once you have the hang of it, try three-colour patterns or carve letters to add a name; just remember to carve the letters in reverse.
Related articles
More diy crafts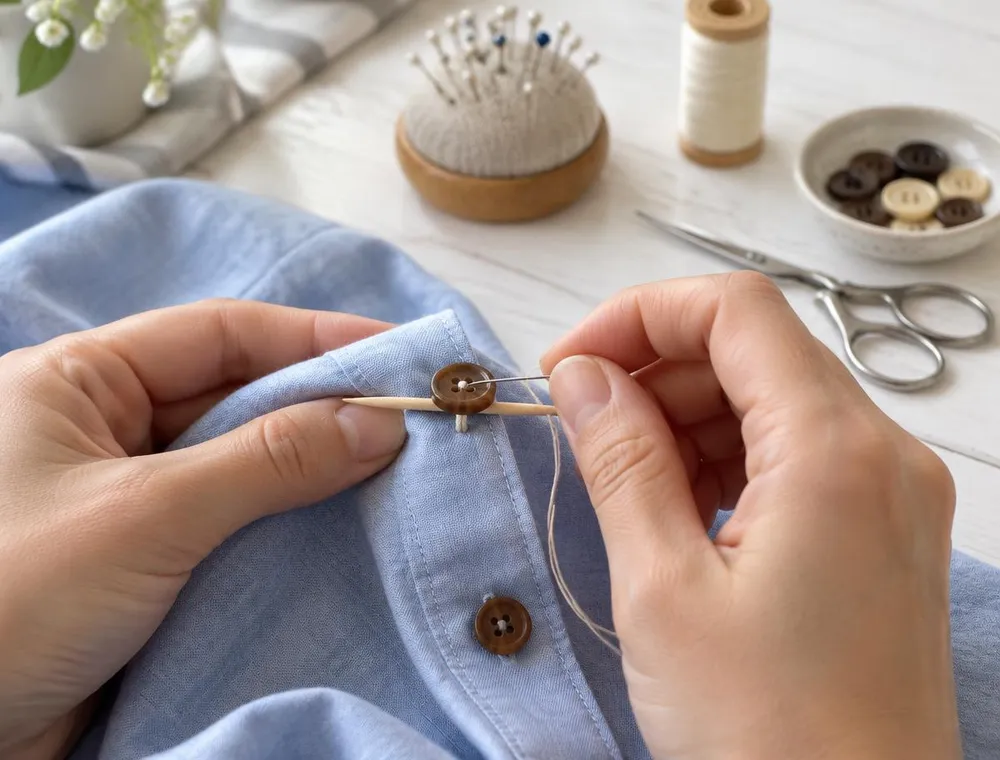
How to Sew a Loose Button Properly
A wobbly button is a quick fix once you know the method. Choose the right thread, mark the exact spot and build a small thread shank so the button stays on and still fits the buttonhole.

Simple Macramé Plant Hanger Using Three Basic Knots
Learn the gathering knot, square knot and half knot, then use them to make a sturdy hanger for a small pot.
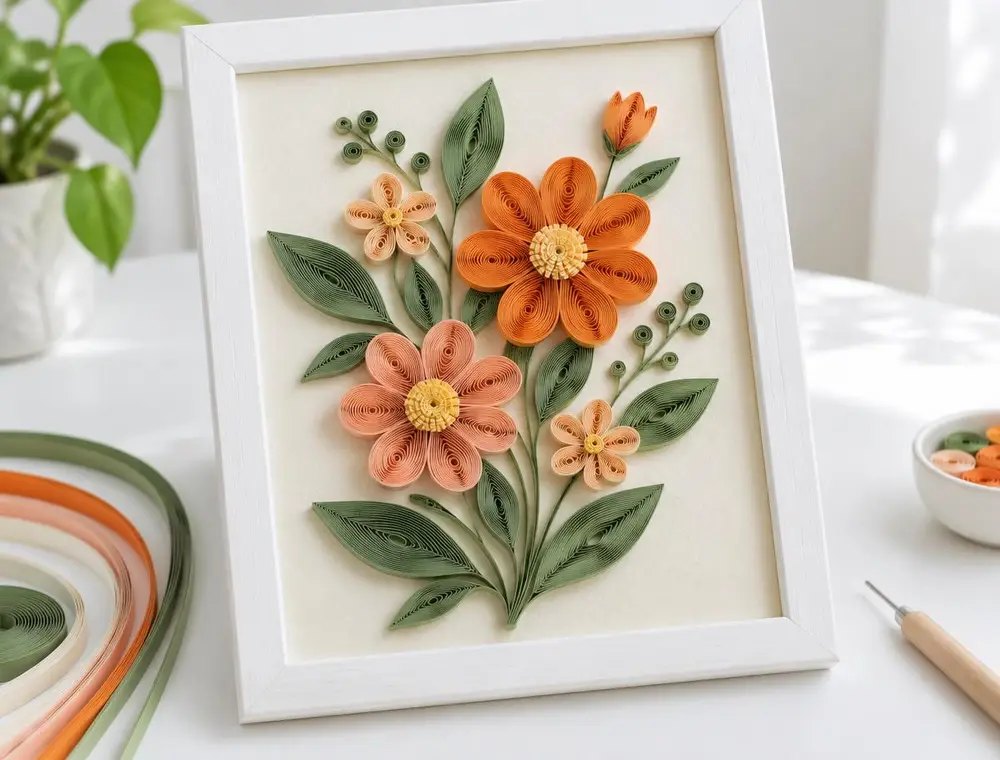
Paper Quilling Flower Wall Art for Beginners
Roll thin paper strips into coils, pinch them into petals and build a framed flower picture that looks far more difficult than it is.