Paper Quilling Flower Wall Art for Beginners
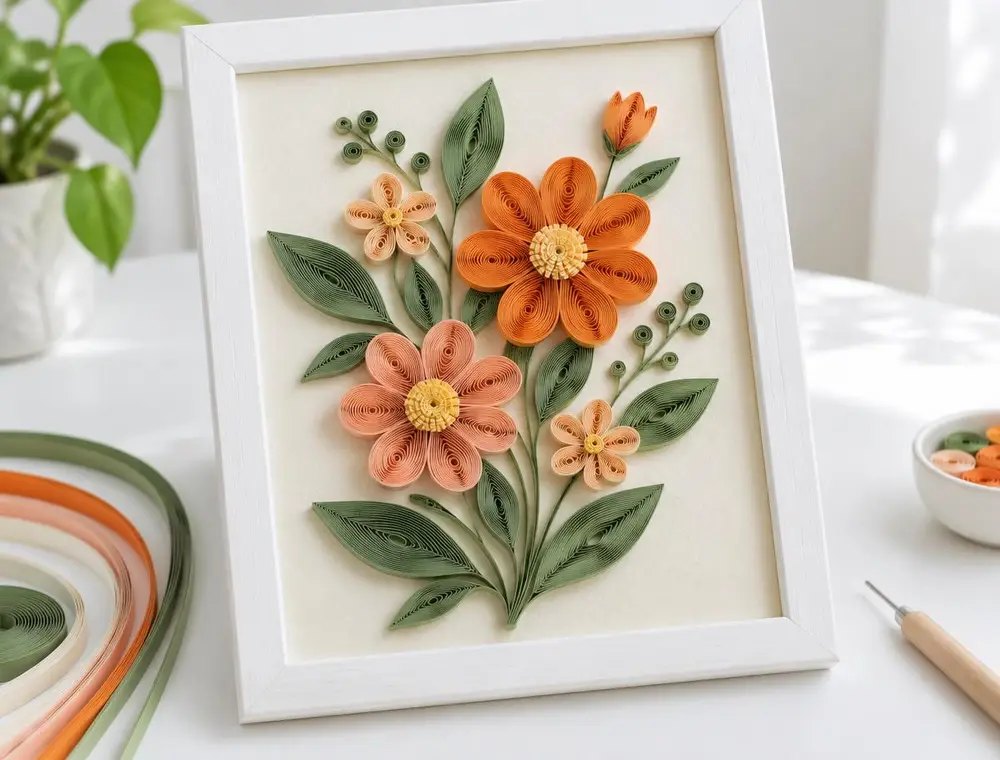
Roll thin paper strips into coils, pinch them into petals and build a framed flower picture that looks far more difficult than it is.
- Difficulty
- Easy
- Time
- 3–4 hours
- Published
Introduction
Quilling is the craft of rolling narrow strips of paper into tight coils and then squeezing those coils into shapes. Put enough of those shapes together and you get flowers, leaves and swirls with a lovely raised texture that flat paper art can't match.
This project makes a small framed bouquet, about the size of a postcard. It uses only four basic shapes, so it is a good first piece. Once you have made one, you will be able to read most quilling patterns you find later.
Materials Required
- Quilling paper strips, 3 mm or 5 mm wide, in orange, peach, light yellow and two shades of green
- A slotted quilling tool (a cocktail stick with a split end also works)
- Thick cream or white card cut to fit your frame
- A photo frame with a deep mount or box frame, 5 × 7 inch or similar
- White PVA glue in a small dish, plus a toothpick for applying it
- Small sharp scissors
- Tweezers (optional, but helpful for placing small pieces)
- A pencil and ruler
Step-by-Step Instructions
Step 1: Sketch a simple layout
Lightly draw three stems on your card with a pencil. Mark a circle where each flower head will sit and a few ovals for leaves. Keep the design loose; quilled shapes rarely land exactly where you plan them, and that is part of the charm.
Step 2: Roll your first tight coil
Slide the end of an orange strip into the slot of the tool and turn the tool slowly, keeping the edges of the paper level. Roll the whole strip, slide the coil off and let it relax a little. When it reaches the size you like, add a dot of glue to the loose end and press it down for a few seconds.
Step 3: Shape the petals
For a teardrop petal, pinch one side of a loose coil between finger and thumb. For a leaf or 'eye' shape, pinch both sides at once. Make five or six petals per flower and try to keep them a similar size by using strips of the same length.
Step 4: Make the flower centres
Glue a yellow strip to the end of an orange strip and roll them together into one tight coil without letting it relax. This gives you a solid, two-toned centre. Glue the end straight away so it stays firm.
Step 5: Assemble each flower on the card
Put a small dab of glue on the card where a flower head goes. Press the centre into place first, then arrange the petals around it with the pointed ends facing inward. Touch only the edge of each piece with glue so the coils keep their shape.
Step 6: Add stems and leaves
For stems, glue a green strip on its edge along your pencil line, holding it for a few seconds until it stands up by itself. Add the eye-shaped leaves along the stems. A few tiny tight green coils make nice buds to fill gaps.
Step 7: Let it dry and frame it
Leave the card flat for at least two hours so the glue sets fully. Rub out any visible pencil marks, then place the card in a box frame. A standard frame with glass pressed flat against the piece will crush the coils, so use a deep mount or remove the glass.
Helpful Tips
- Tear strips instead of cutting them when you want a softer join between two colours. The feathered edge hides the seam.
- Cut all petal strips for one flower to the same length before you start. Equal strips give equal petals.
- If a coil unwinds too much, roll it again; paper strips are forgiving and can be re-used several times.
- Keep a damp cloth nearby to wipe glue off your fingers. Sticky fingers pull coils apart.
Safety Instructions
- Paper edges can give small cuts, so roll slowly at first.
- Keep small coils and tweezers away from toddlers, as the pieces are a choking hazard.
Frequently Asked Questions
Which strip width is best for beginners?
5 mm strips are easier to hold and roll than 3 mm strips, and they show the coil pattern clearly. Use 3 mm when you move on to smaller, more detailed designs.
Can I make my own quilling strips?
Yes. Cut 80–120 gsm coloured paper into even strips with a craft knife and steel ruler. Bought strips are more consistent, but home-cut strips work well for practice.
Will the artwork fade?
Coloured paper slowly fades in strong sunlight. Hang the frame on a wall that does not get direct sun to keep the colours bright for longer.
Conclusion
Once you are comfortable with tight coils, teardrops and eyes, you can design almost any floral picture. Try a matching set of three small frames, or quill a single flower onto a greeting card. Many people find that their second piece takes half the time of the first.
Related articles
More diy crafts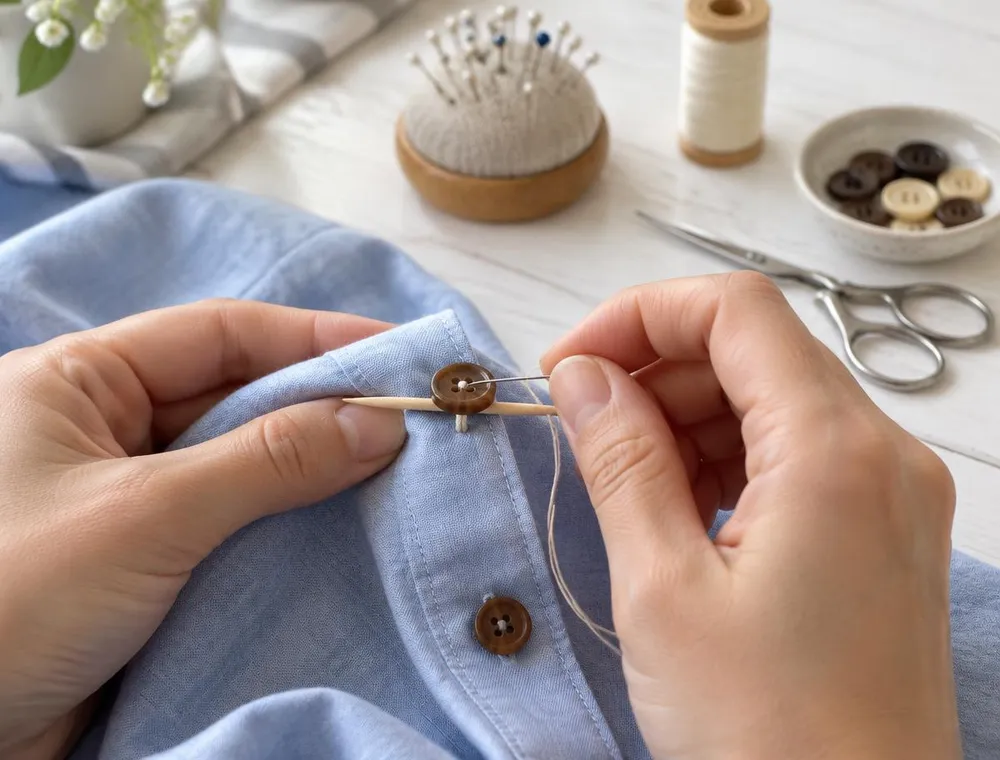
How to Sew a Loose Button Properly
A wobbly button is a quick fix once you know the method. Choose the right thread, mark the exact spot and build a small thread shank so the button stays on and still fits the buttonhole.
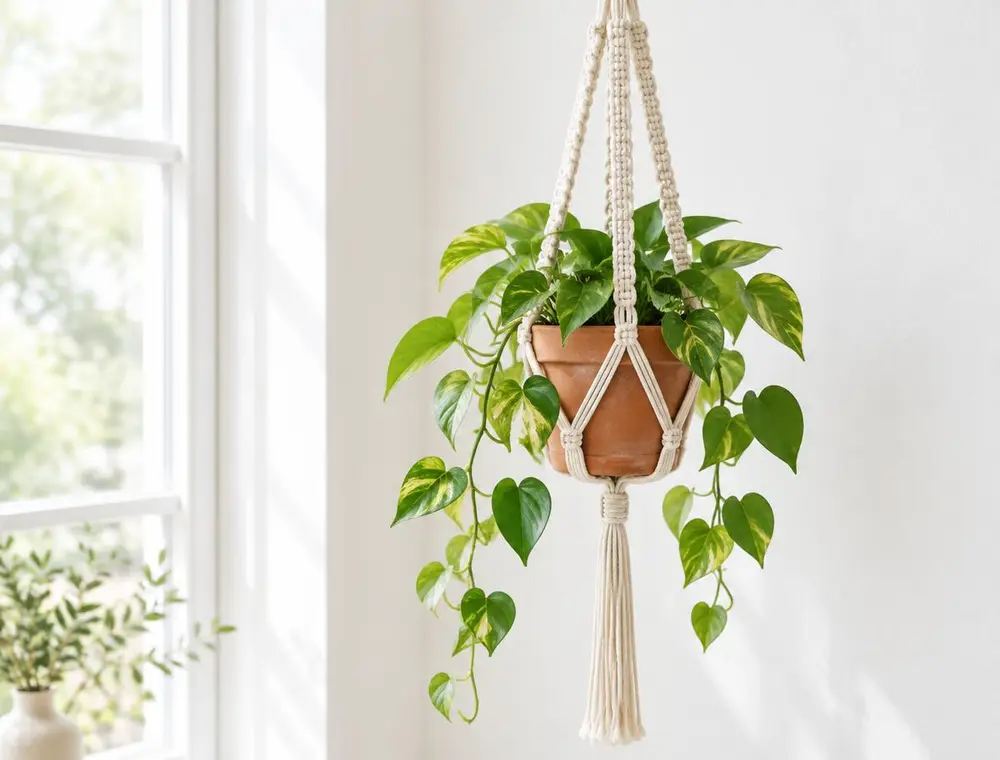
Simple Macramé Plant Hanger Using Three Basic Knots
Learn the gathering knot, square knot and half knot, then use them to make a sturdy hanger for a small pot.
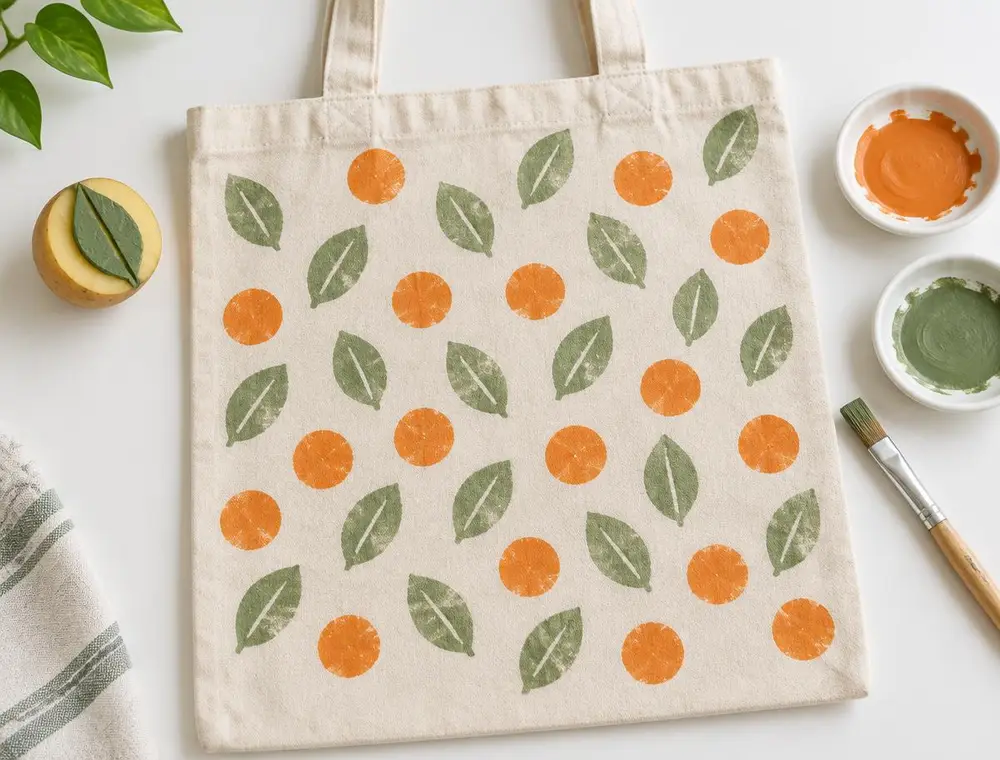
Hand-Stamped Canvas Tote Bag with Potato Stamps
Carve simple shapes into a potato, print a pattern onto a plain tote with fabric paint and heat-set it so it survives the wash.