Baking Soda Volcano with a Clay Cone
Build a reusable volcano around a small bottle and make it erupt with baking soda and vinegar, with a clear explanation of the science.
- Difficulty
- Easy
- Time
- 2 hours plus drying
- Published
Introduction
The baking soda volcano is a favourite science fair project because it combines model-making with a real chemical reaction. It is also messy in the best way.
This version builds the volcano around a small plastic bottle, so you can rinse it and erupt it again and again. The explanation section helps children talk confidently about what is happening.
Materials Required
- A small plastic bottle (about 250–500 ml)
- A sturdy cardboard tray or shallow box lid as a base
- Air-dry clay or homemade salt dough
- Masking tape and newspaper
- Acrylic paints in brown, green, grey and red
- Baking soda (sodium bicarbonate)
- White vinegar
- Washing-up liquid
- Red and orange food colouring
- Small toy trees or twigs (optional)
Step-by-Step Instructions
Step 1: Build the frame
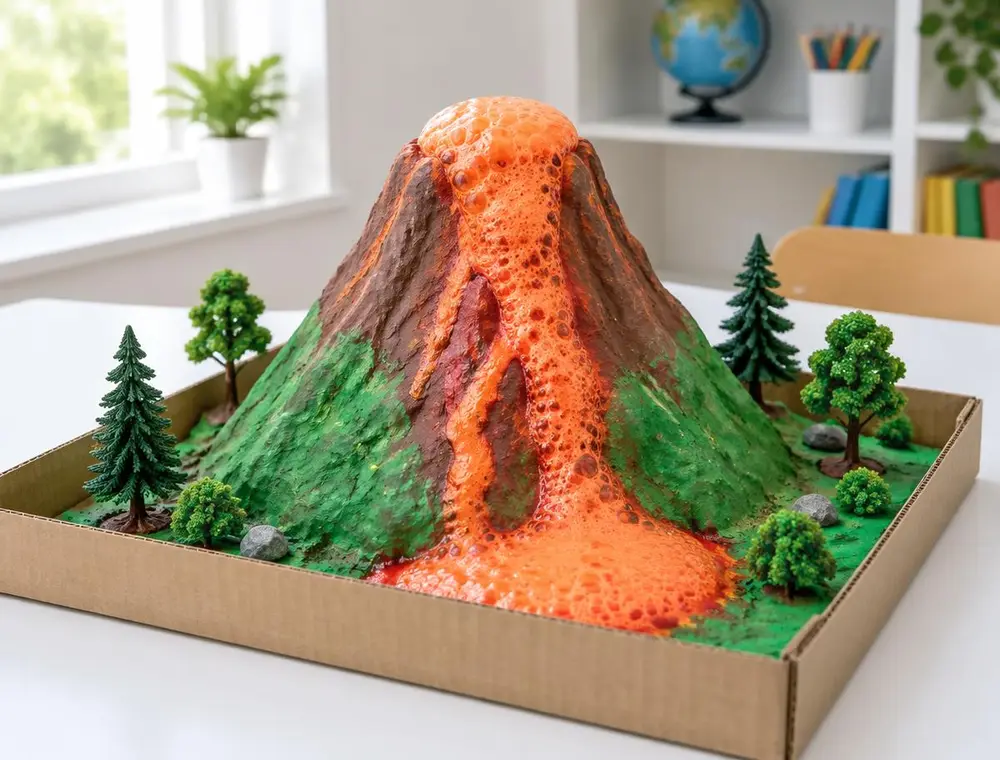
Tape the bottle to the centre of the tray. Scrunch newspaper into balls and tape them around the bottle to make a rough mountain shape. Do not cover the bottle opening.
Step 2: Cover with clay
Roll out the clay and lay it over the newspaper frame, pressing it together to cover the whole mountain. Shape small ridges and valleys with your fingers so lava has paths to flow down.
Step 3: Let it dry
Leave the volcano to dry, usually overnight for air-dry clay. Salt dough can be dried in a low oven with an adult's help.
Step 4: Paint the landscape
Paint the mountain brown and grey, with green at the base for grass. Add some red streaks near the top to look like old lava flows. Glue toy trees around the base.
Step 5: Prepare the eruption
Put two tablespoons of baking soda and a few drops of washing-up liquid into the bottle. In a cup, mix half a cup of vinegar with a few drops of red and orange food colouring.
Step 6: Erupt
Pour the coloured vinegar into the bottle quickly and step back. The mixture fizzes up and foams down the sides. Rinse the bottle and repeat with fresh ingredients.
Helpful Tips
- Do the eruption on a tray or outdoors. Food colouring can stain fabric.
- Warm vinegar makes a faster, more dramatic eruption.
- Seal the painted volcano with clear varnish so it can be wiped clean after each eruption.
Safety Instructions
- Adult supervision is needed. Keep vinegar away from eyes and wash hands after the experiment.
- Do not seal the bottle with a lid during the eruption; gas needs to escape.
- Never taste the mixture.
Frequently Asked Questions
What is the science behind the eruption?
Baking soda is a base and vinegar is an acid. When they mix, they react to make carbon dioxide gas. The gas bubbles push the liquid up and out of the bottle, and the washing-up liquid traps the bubbles to make foam.
Is this how real volcanoes work?
Not exactly. Real volcanoes erupt because of molten rock and gas pressure deep underground. The model shows how gas pressure can push material out, but the chemistry is different.
How many times can I erupt it?
As many times as you like. Rinse and dry the bottle between eruptions.
Conclusion
A clay volcano is a great mix of art and science. For a stronger school project, ask a question to test, such as whether more baking soda makes a bigger eruption, and record the results in a simple table.
Related articles
More kids school projects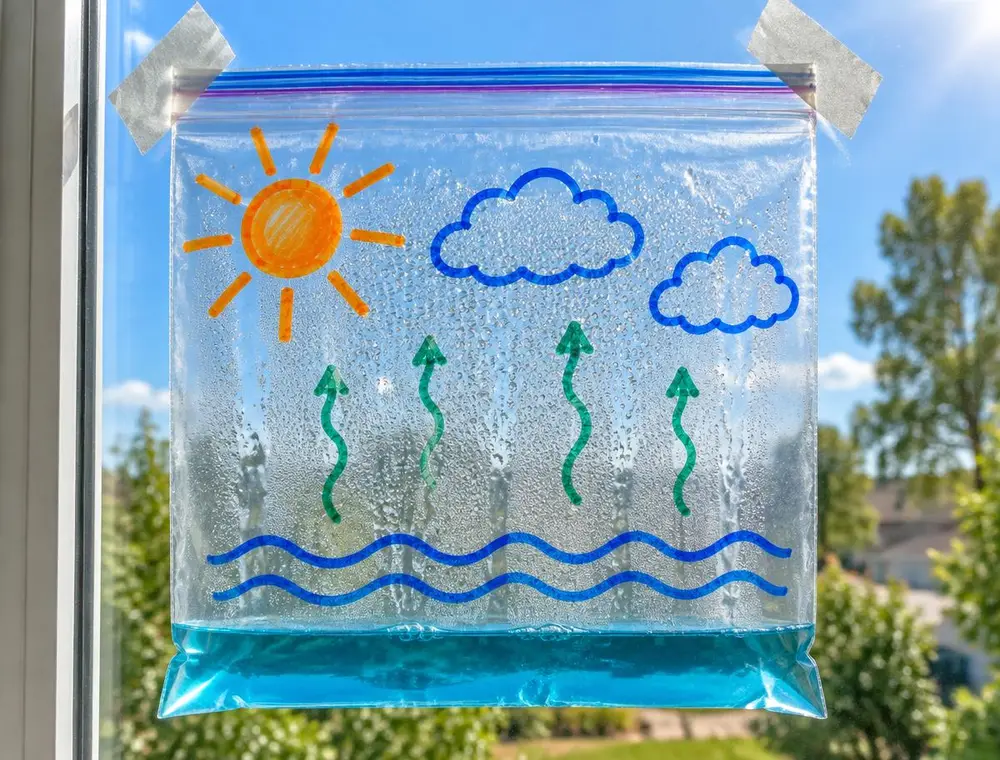
Water Cycle in a Bag: A Window Science Project
Tape a decorated zip bag to a sunny window and watch evaporation, condensation and precipitation happen over a few days.

Hanging Solar System Model with Foam Balls
Paint foam balls as the Sun and eight planets, then hang them in order from a hoop to make a model that is easy to explain in class.
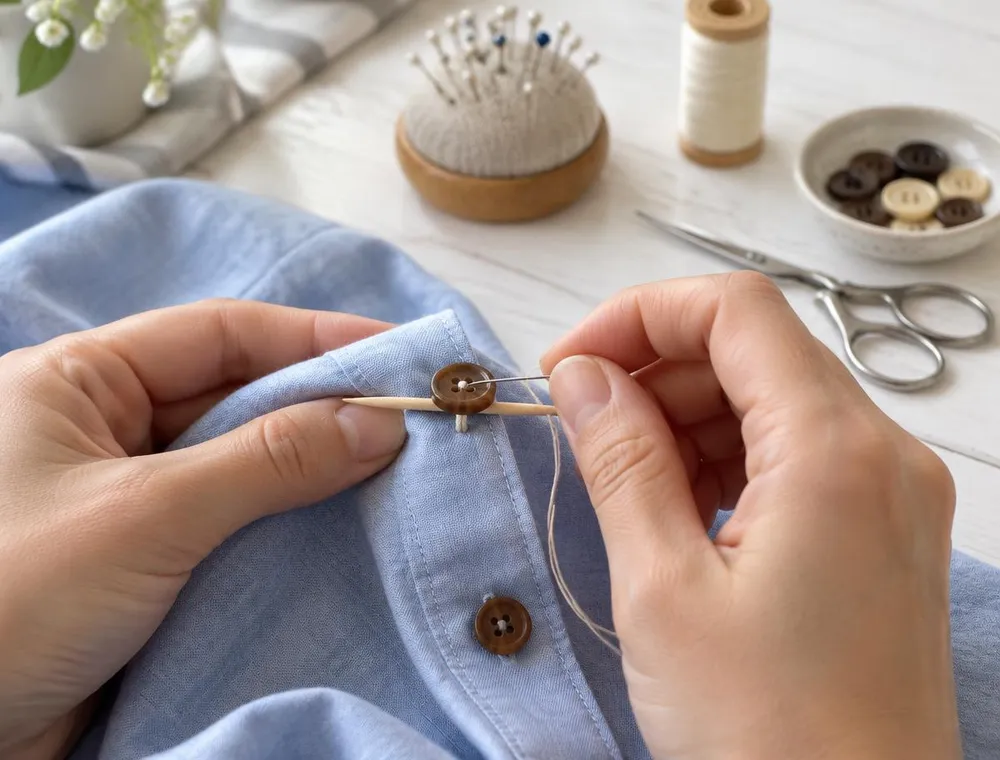
How to Sew a Loose Button Properly
A wobbly button is a quick fix once you know the method. Choose the right thread, mark the exact spot and build a small thread shank so the button stays on and still fits the buttonhole.