Hanging Solar System Model with Foam Balls
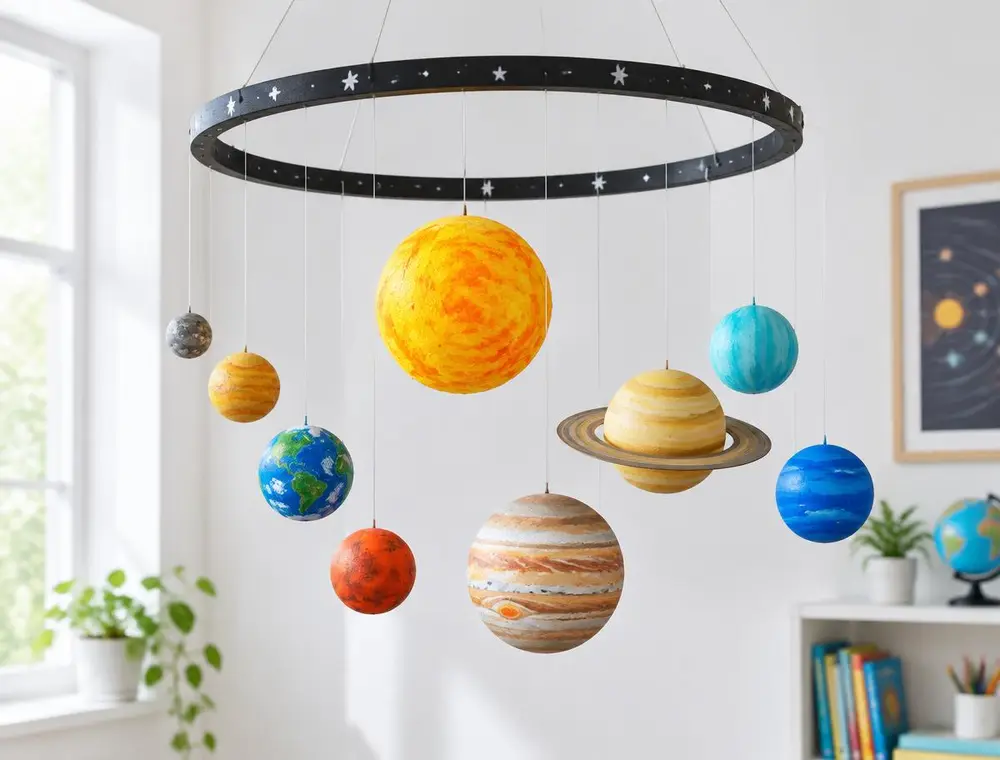
Paint foam balls as the Sun and eight planets, then hang them in order from a hoop to make a model that is easy to explain in class.
- Difficulty
- Easy
- Time
- 3 hours plus paint drying
- Published
Introduction
A hanging solar system is a classic school project for good reason. It helps children remember the order of the planets and gives them something visual to point at during a presentation.
The model below is not to scale, as a true-scale model would need a football field. Instead, it keeps the planets in the correct order and roughly shows which ones are larger or smaller.
Materials Required
- Polystyrene foam balls in several sizes: 1 large (Sun), 2 medium-large (Jupiter, Saturn), 2 medium (Uranus, Neptune), 4 small (Mercury, Venus, Earth, Mars)
- Acrylic paints: yellow, orange, red, blue, green, white, brown, grey
- Paintbrushes and a sponge
- Wooden skewers and a lump of modelling clay (to hold balls while painting)
- An embroidery hoop or a wire ring about 40 cm across
- Fishing line or thin white thread
- A piece of thin card for Saturn's rings
- Glue and a needle
Step-by-Step Instructions
Step 1: Set up a painting station
Push each foam ball onto a wooden skewer. Stand the skewers in a lump of modelling clay or a cup of rice so the balls can dry without touching anything.
Step 2: Paint the Sun and planets
Paint the Sun in yellow with orange swirls. Mercury is grey, Venus is pale yellow, Earth blue with green land, Mars red-orange. Jupiter gets cream and brown bands with a red spot, Saturn pale gold, Uranus light blue-green and Neptune deep blue.
Step 3: Make Saturn's rings
Draw a ring on thin card slightly larger than Saturn, with a hole in the middle the same size as the ball. Cut it out, paint it, and slide it over Saturn, fixing it with a dot of glue.
Step 4: Prepare the hoop
Paint the hoop black or dark blue and add tiny white dots for stars. Tie three or four equal lengths of thread to the hoop and join them at the top so it hangs level.
Step 5: Thread the planets
Thread a needle with fishing line and push it through the top of each ball, tying a knot underneath. Hang the Sun in the centre using a cross-thread across the hoop, then tie the planets around the hoop in order.
Step 6: Add labels
Write each planet's name on a small card tag and tie it just above the planet on its thread. This helps during the presentation.
Helpful Tips
- A simple sentence helps remember the order: 'My Very Easy Method Just Speeds Up Naming' (Mercury, Venus, Earth, Mars, Jupiter, Saturn, Uranus, Neptune).
- Hang planets at slightly different heights so they do not knock into each other.
- Mix paint with a little PVA glue to help it stick to foam.
- Prepare a short fact card for each planet to read during the class talk.
Safety Instructions
- Adults should handle the needle and any cutting.
- Do not use spray paint on polystyrene foam; it melts the surface.
Frequently Asked Questions
Why is Pluto not included?
Since 2006, Pluto has been classed as a dwarf planet. You can add it as a small extra ball beyond Neptune and explain the change in your presentation.
Can I make it to scale?
Real sizes and distances are too different to fit in a classroom model. Explain that the model shows the order and rough size differences, not exact scale.
What facts are good to share?
Jupiter is the largest planet, Venus is the hottest, Mars has the tallest volcano in the solar system, and Saturn's rings are made mostly of ice.
Conclusion
A hanging solar system looks impressive, teaches the order of the planets and is easy to carry to school. Encourage your child to choose one interesting fact per planet and they will have a ready-made presentation.
Related articles
More kids school projects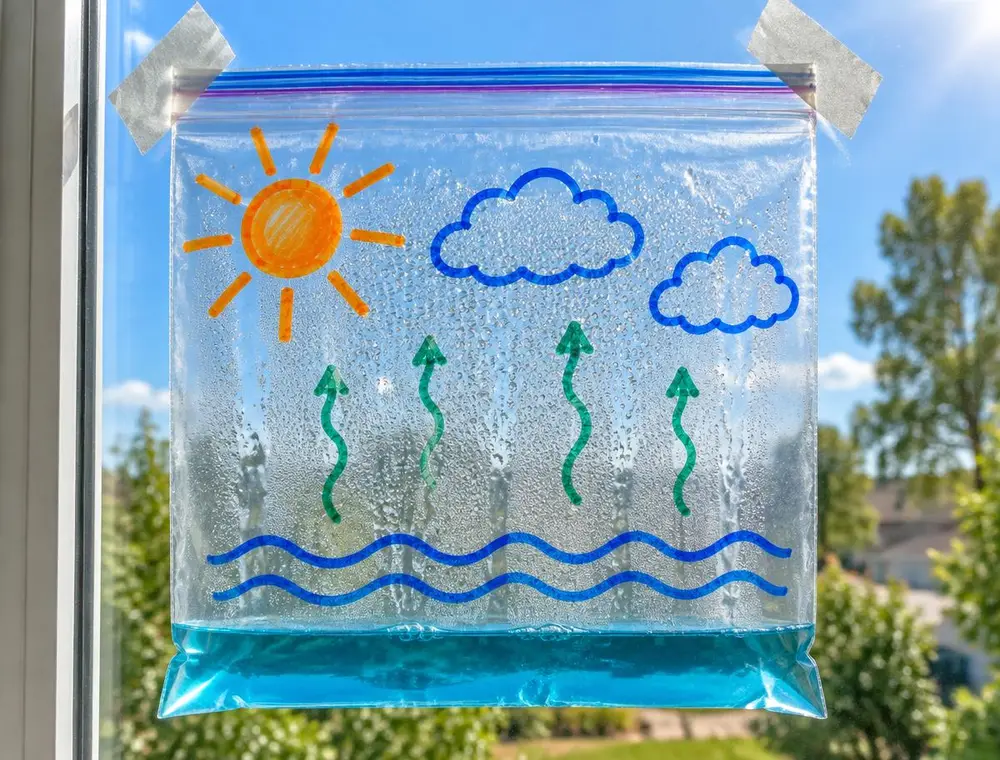
Water Cycle in a Bag: A Window Science Project
Tape a decorated zip bag to a sunny window and watch evaporation, condensation and precipitation happen over a few days.
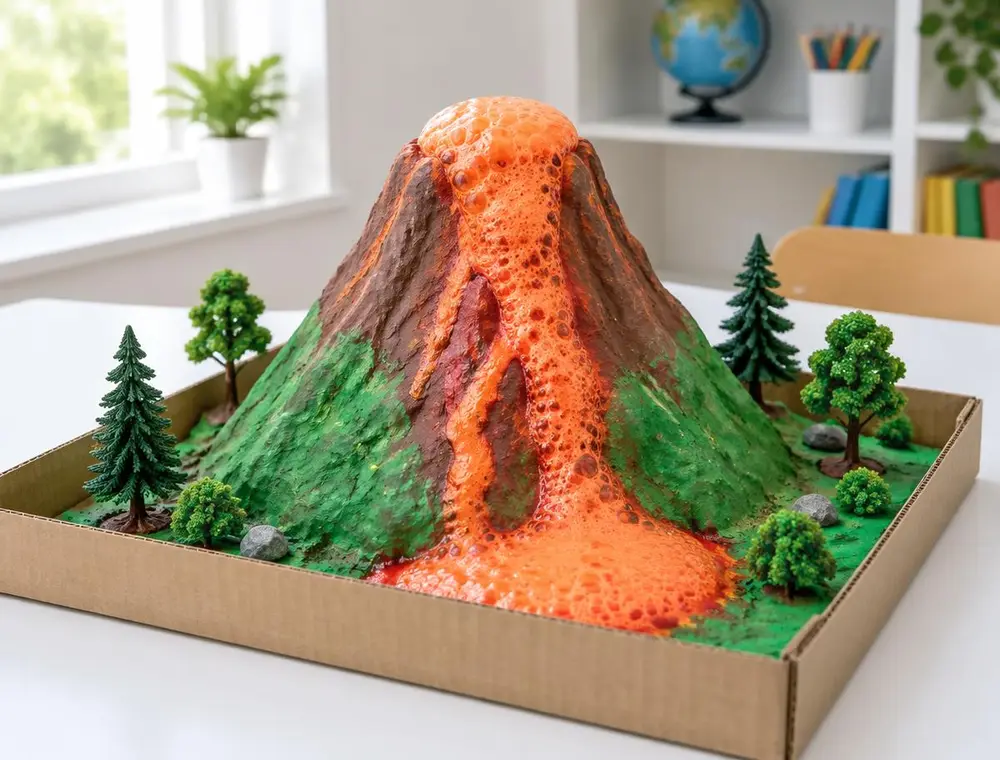
Baking Soda Volcano with a Clay Cone
Build a reusable volcano around a small bottle and make it erupt with baking soda and vinegar, with a clear explanation of the science.
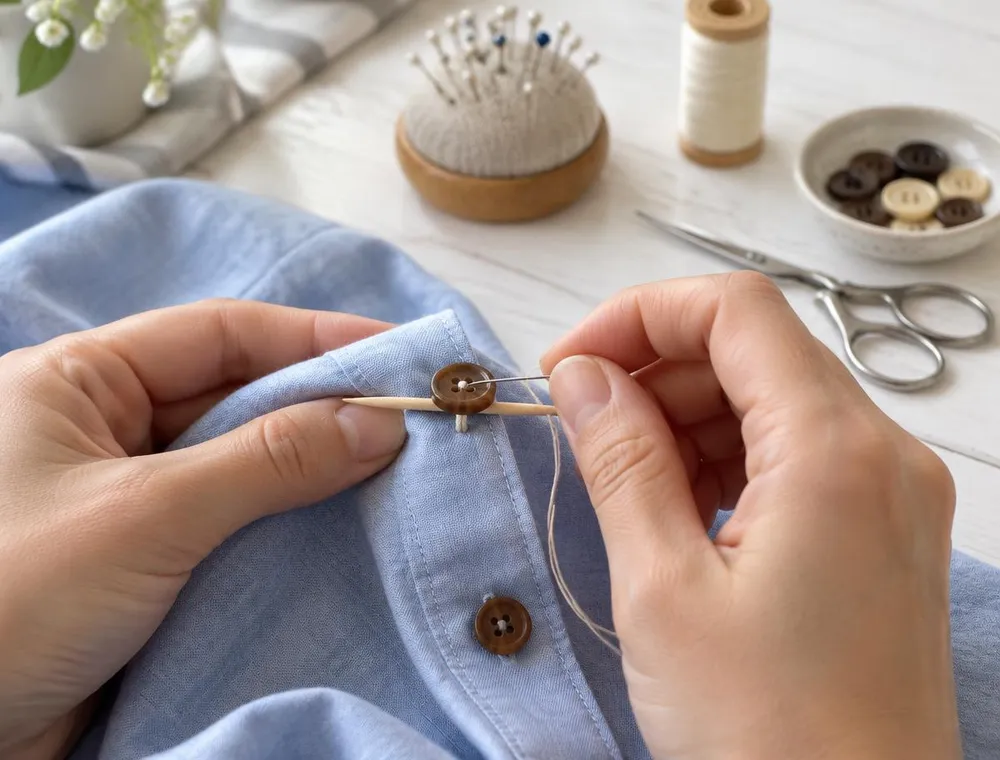
How to Sew a Loose Button Properly
A wobbly button is a quick fix once you know the method. Choose the right thread, mark the exact spot and build a small thread shank so the button stays on and still fits the buttonhole.