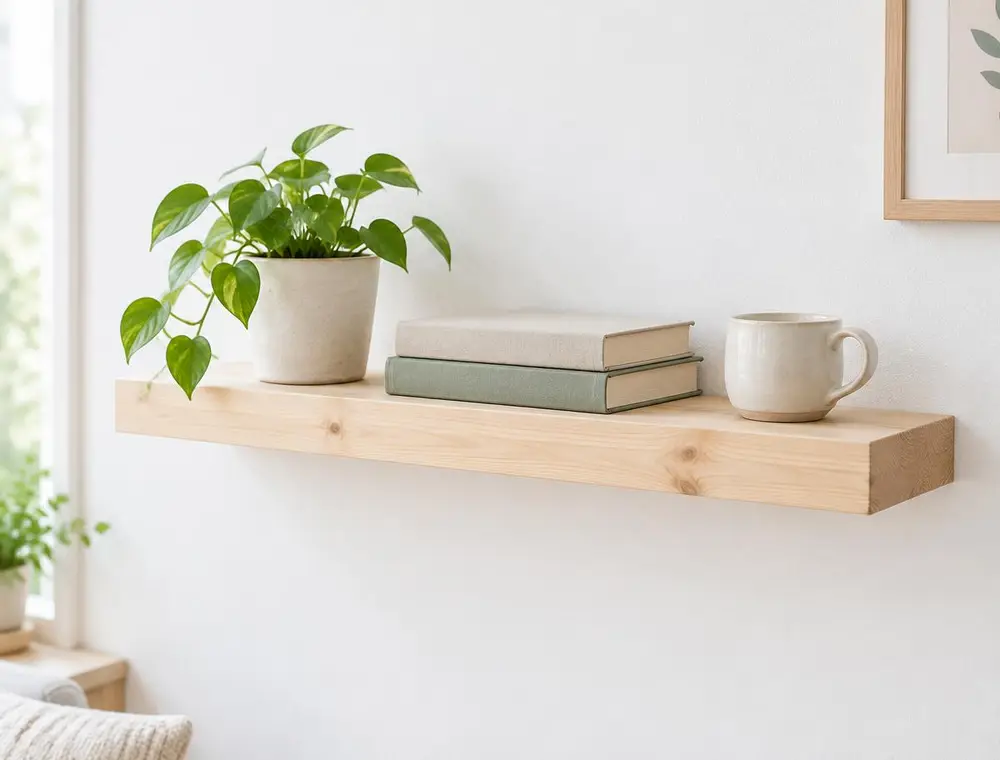
Easy Wooden Floating Shelf from a Single Pine Board
Build a clean, bracket-free shelf using a pine board, a hidden batten and basic tools. Ideal for plants, books and small decor.
- Difficulty
- Moderate
- Time
- 3–4 hours plus finish drying
- Published
Introduction
Floating shelves look neat because there are no visible brackets. The trick is a simple hidden batten: a strip of wood screwed to the wall, with the shelf hollowed out behind so it slides over the top.
This method uses ready-planed pine and tools found in most homes. It is suited to light and medium loads like plants, paperbacks and photo frames, not heavy books or kitchen crockery.
Materials Required
- 1 planed pine board, about 60 × 15 × 4.5 cm (the shelf)
- 1 pine batten, about 50 × 3.4 × 3.4 cm
- A hand saw or jigsaw
- An electric drill with wood and masonry bits
- 4 wall plugs and 4 screws (75 mm) suited to your wall type
- 2 wood screws (30 mm) to lock the shelf to the batten
- A chisel and hammer, or a router if you have one
- Spirit level, pencil and tape measure
- Sandpaper (120 and 240 grit)
- Clear matt wood oil or wax
Step-by-Step Instructions
Step 1: Mark the slot on the back of the shelf
Lay the board face down. Centre the batten along the back edge and draw around it. The slot should be slightly larger than the batten (about 1 mm on each side) so the shelf can slide on easily.
Step 2: Cut out the slot
Make a series of saw cuts across the marked area down to the depth of the batten, then chisel out the waste between them. Work slowly and check the batten fits as you go. If you have a router, this step is much quicker.
Step 3: Sand and finish the shelf
Sand all faces with 120 grit and then 240 grit until smooth, rounding the front corners slightly. Wipe off dust and apply two thin coats of oil or wax, leaving each to dry as the tin advises.
Step 4: Fix the batten to the wall
Hold the batten at your chosen height, check it with a spirit level and mark four screw positions. Use a stud finder or detector to avoid hidden pipes and cables. Drill, insert wall plugs and screw the batten firmly in place.
Step 5: Slide on the shelf
Push the shelf over the batten until it sits flush against the wall. If it is tight, sand inside the slot a little. Once it fits, drill two small pilot holes down through the top of the shelf into the batten and drive in short screws to stop it lifting off.
Helpful Tips
- Choose a board with straight grain and few knots; it is less likely to twist over time.
- Fill the small screw holes on top with matching wood filler before the final coat of oil.
- Keep heavier items towards the wall end of the shelf, where it is best supported.
Safety Instructions
- Always check walls for hidden cables and pipes before drilling. A cheap detector is worth it.
- Wear safety glasses when drilling and chiselling, and a dust mask when sanding.
- Use wall plugs and screws designed for your wall. Plasterboard needs special cavity fixings.
Frequently Asked Questions
How much weight will it hold?
Fixed into solid brick or timber studs, a shelf like this handles a few plants and some paperbacks. On plasterboard with cavity fixings, keep the load light.
Can I paint the shelf instead of oiling it?
Yes. Apply a wood primer first, then two coats of furniture paint. Paint the shelf before sliding it on.
What if my wall is not flat?
A small gap at the back is normal on older walls. A thin bead of decorator's caulk along the back edge hides it neatly.
Conclusion
A single floating shelf can turn an empty wall into a small display area. Once you have made one, building a matching pair at staggered heights is easy, and you already know where the fiddly bits are.
Related articles
More home decoration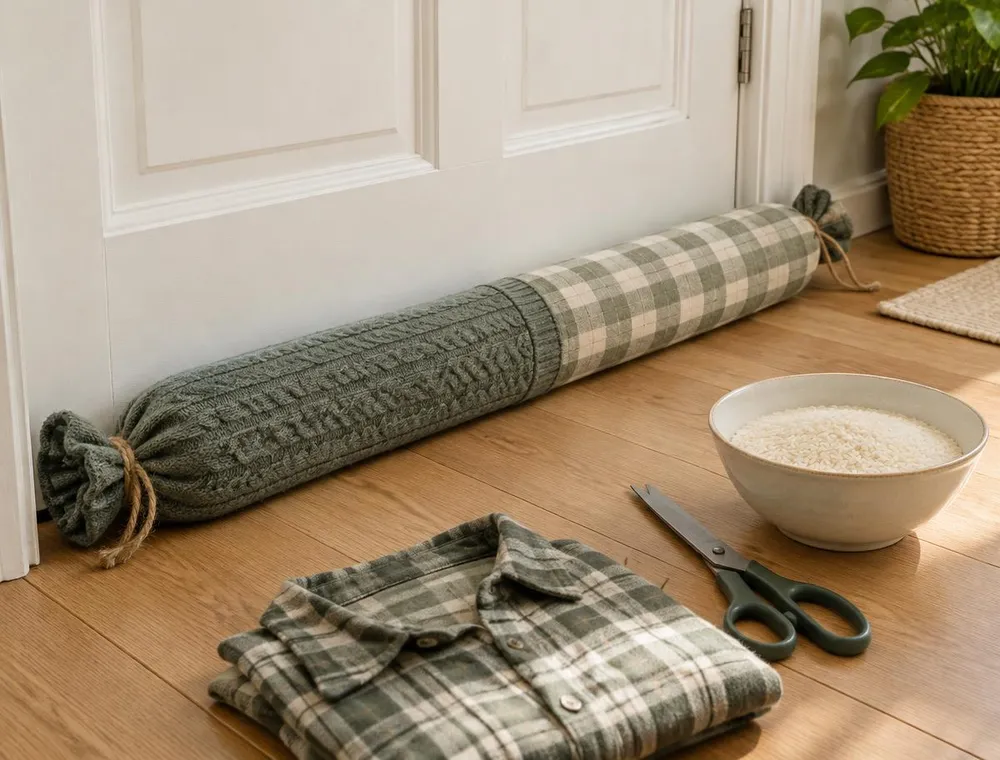
How to Make a No-Sew Door Draft Stopper
Stop cold air sneaking under your doors with a soft, weighted draft stopper made from old clothes. No sewing machine, no needle, just a little cutting, filling and tying.
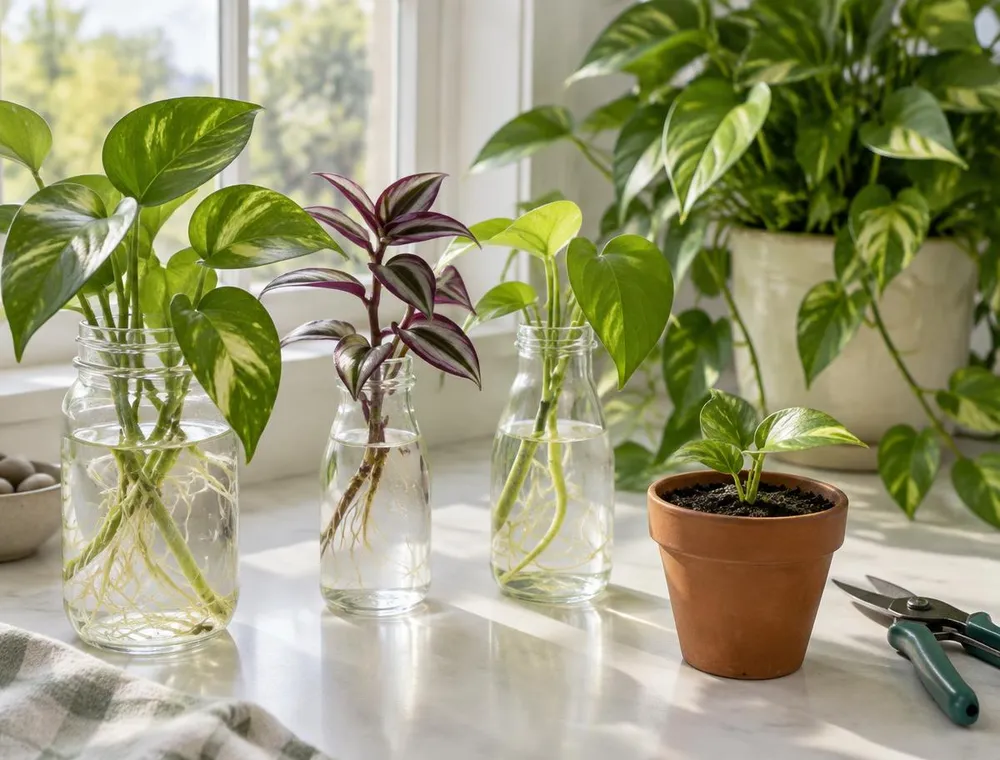
How to Grow New Plants from Stem Cuttings
Turn one healthy plant into several. Learn where to cut, how to prepare stems, how to root them in water or soil, and how to help them settle once they are potted.

Soy Wax Candles Poured into Thrifted Teacups
Turn odd teacups from a charity shop into pretty candles with soy wax, cotton wicks and a careful double-boiler method.