Soy Wax Candles Poured into Thrifted Teacups
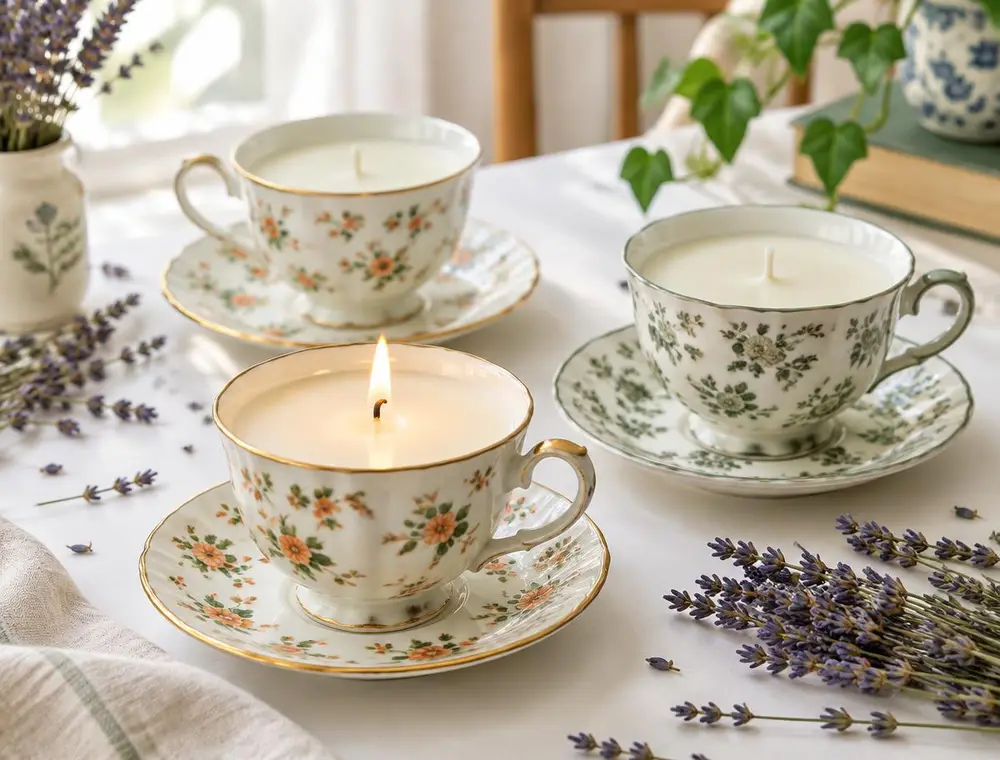
Turn odd teacups from a charity shop into pretty candles with soy wax, cotton wicks and a careful double-boiler method.
- Difficulty
- Moderate
- Time
- 2 hours plus 24 hours curing
- Published
Introduction
Single teacups are some of the cheapest things you can find in a charity shop, usually because their matching set has broken. Filled with soy wax, they become charming candles with a saucer that catches any drips.
Candle making is mostly about temperature and patience. Follow the steps in order, keep the heat low and you will get a smooth top and an even burn.
Materials Required
- 3 porcelain or china teacups without cracks or chips
- About 500 g soy container wax flakes
- 3 pre-waxed cotton wicks with metal sustainer tabs, sized for a 7–8 cm container
- Candle fragrance oil (optional), around 6–8% of the wax weight
- A heatproof jug or pouring pitcher
- A saucepan to use as a double boiler
- A kitchen or candle thermometer
- Wick stickers or a dab of hot glue
- Clothes pegs or wooden skewers to keep wicks centred
Step-by-Step Instructions
Step 1: Clean and prepare the cups
Wash the teacups in hot soapy water and dry them completely. Any moisture can cause bubbles in the wax. Stick a wick tab to the centre of each cup using a wick sticker or a small dab of glue.
Step 2: Melt the wax gently
Put the wax flakes in the pouring jug and place it in a saucepan with a few centimetres of simmering water. Stir now and then. Melt until the wax reaches the temperature on your wax packet, usually around 80 °C. Never leave melting wax unattended.
Step 3: Add fragrance at the right moment
Take the jug off the heat. Let the wax cool to the fragrance temperature on the packet (often around 65 °C), then stir in the fragrance oil slowly for two minutes. Stirring well helps the scent bind to the wax.
Step 4: Pour and centre the wicks
When the wax has cooled to the pouring temperature (often 55–60 °C), pour it slowly into each cup, leaving 1 cm at the top. Rest a clothes peg across each cup to hold the wick upright and centred.
Step 5: Let the candles cure
Leave the cups at room temperature, away from draughts, for at least 24 hours. Soy candles smell stronger if you wait a few more days before the first burn.
Step 6: Trim and first burn
Trim the wick to about 5 mm. On the first burn, let the candle burn until the melted pool reaches the edge of the cup, usually two to three hours. This stops 'tunnelling' on later burns.
Helpful Tips
- If the top cracks or sinks while cooling, melt a little extra wax and top up the surface.
- Warming the cups slightly with a hairdryer before pouring helps the wax stick to the sides.
- Wide teacups may need two wicks to melt evenly. Check the wick maker's sizing chart.
Safety Instructions
- Melt wax only in a double boiler, never directly on a hob. Wax overheated past its flash point can catch fire.
- Keep a lid nearby to smother a fire. Never use water on burning wax.
- Never leave a lit candle unattended, and keep it away from curtains, pets and children.
- Use cups without metallic paint near the rim; metallic glazes can get hot.
Frequently Asked Questions
Why soy wax and not paraffin?
Soy wax melts at a lower temperature, cleans up with warm soapy water and is easy for beginners. Paraffin works too but needs different temperatures.
Can I reuse the cup when the candle is finished?
Yes. Pop the cup in the freezer for an hour, then the leftover wax usually pops out. Wash and use it again.
How much fragrance oil should I use?
Follow the wax supplier's maximum load, usually 6–10%. Adding more does not make a stronger candle and can cause sooting.
Conclusion
Teacup candles make a cosy addition to a side table and an easy gift. Once you are confident with temperatures, try pouring into small glass jars, tins or ceramic bowls using exactly the same method.
Related articles
More home decoration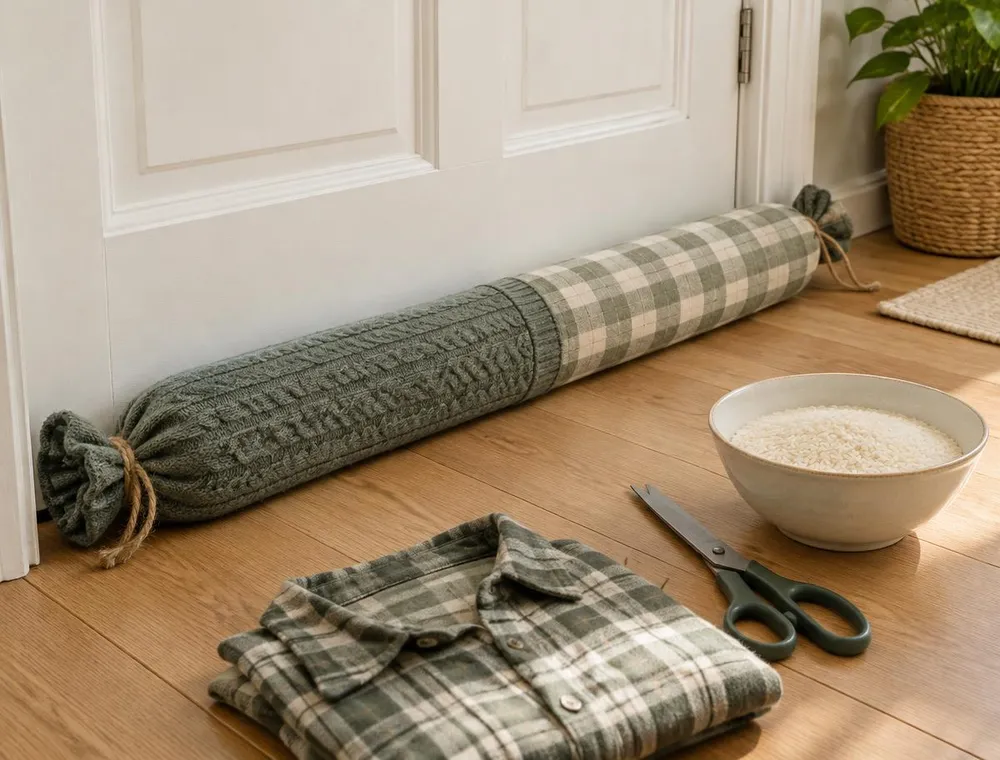
How to Make a No-Sew Door Draft Stopper
Stop cold air sneaking under your doors with a soft, weighted draft stopper made from old clothes. No sewing machine, no needle, just a little cutting, filling and tying.
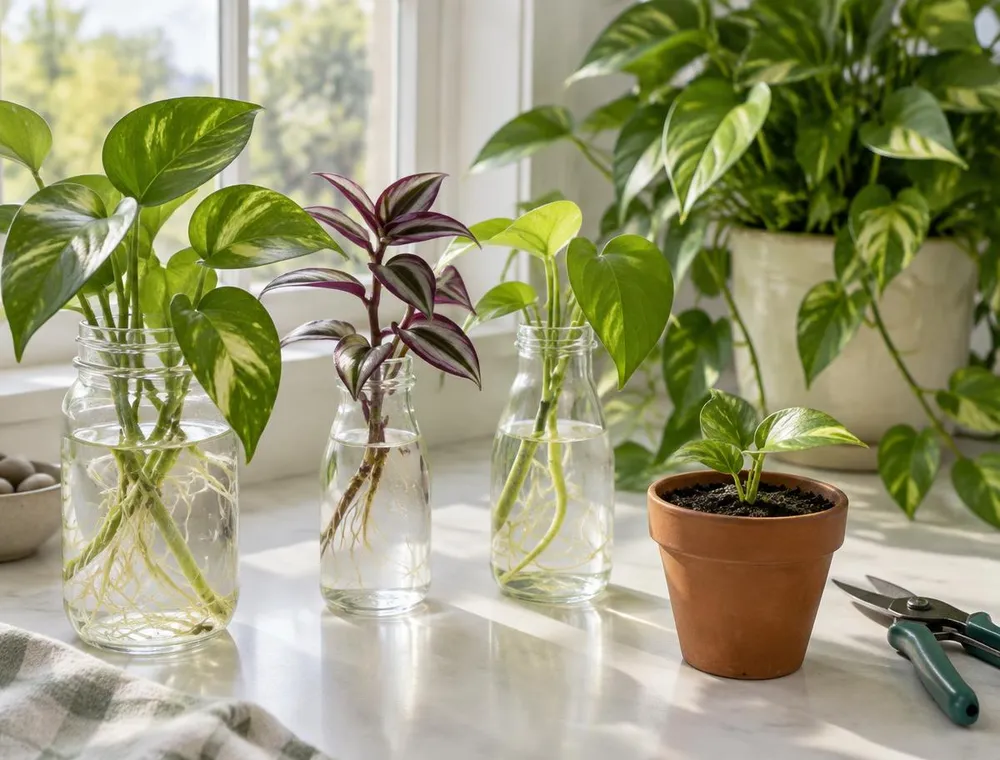
How to Grow New Plants from Stem Cuttings
Turn one healthy plant into several. Learn where to cut, how to prepare stems, how to root them in water or soil, and how to help them settle once they are potted.
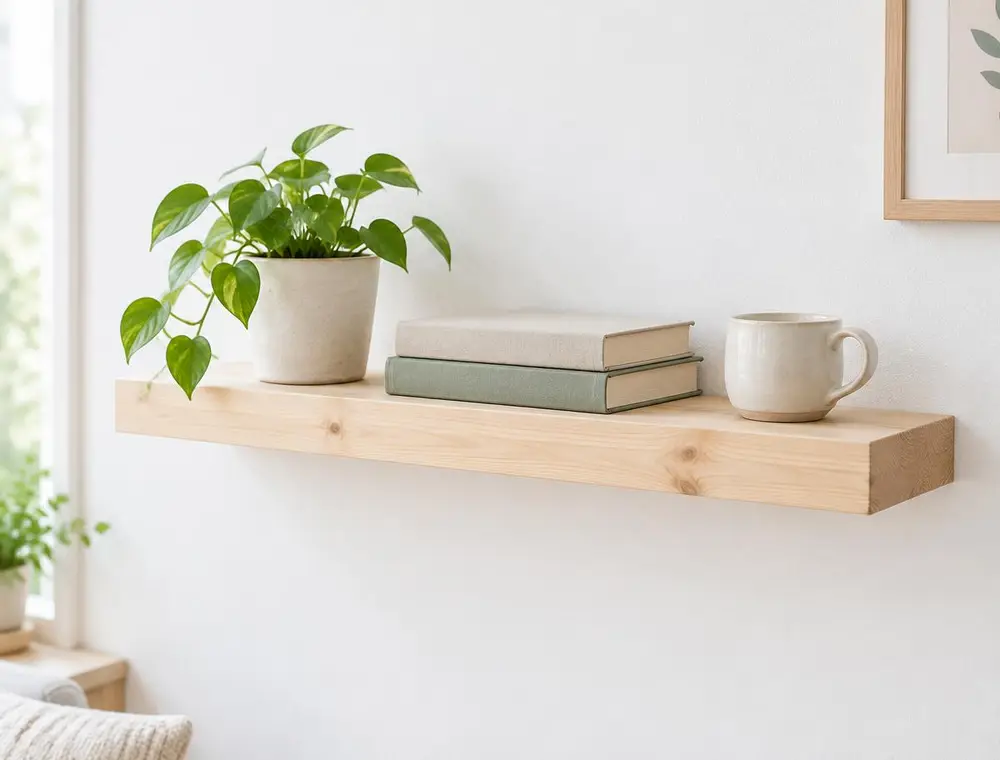
Easy Wooden Floating Shelf from a Single Pine Board
Build a clean, bracket-free shelf using a pine board, a hidden batten and basic tools. Ideal for plants, books and small decor.