How to Grow New Plants from Stem Cuttings
Turn one healthy plant into several. Learn where to cut, how to prepare stems, how to root them in water or soil, and how to help them settle once they are potted.
- Difficulty
- Easy
- Time
- 20 minutes plus 2–6 weeks for roots
- Published
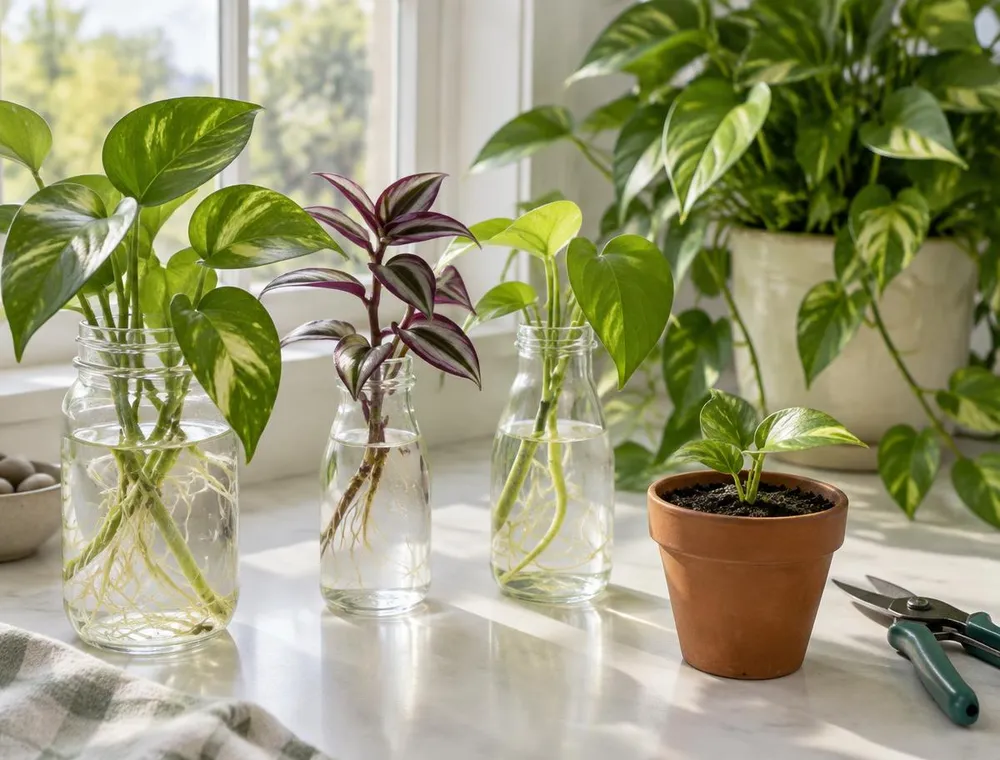
Introduction
Many popular houseplants and herbs can grow a full set of new roots from a single piece of stem. It feels a little like magic the first time you see thin white roots appearing in a glass of water, but it is simply how these plants are built: wherever a leaf joins the stem there is a growth point, called a node, that can produce roots when it has water and warmth.
Taking stem cuttings is the easiest way to get more plants without buying them. It is also useful for tidying a plant that has become long and leggy, sharing a favourite plant with a friend, or keeping a plant going if the parent is struggling. All you need is a healthy plant, clean scissors and some patience.
This guide walks through choosing good stems, where exactly to cut, rooting in water and in soil, potting up and the first few weeks of care. It also suggests plants that root reliably for beginners, explains why some cuttings rot or wilt, and shows how to tell whether a cutting has really taken.
Materials and Tools
Materials
- A healthy parent plant. Good beginner choices: pothos (devil's ivy), heartleaf philodendron, tradescantia (inch plant), coleus, mint, basil and many begonias
- Clean glass jars, bottles or vases for water rooting
- Tap water left to stand for a few hours, or filtered or rain water
- Small pots, about 8–10 cm (3–4 inches) wide, with drainage holes
- A light, free-draining potting mix, such as houseplant compost mixed with about one-third perlite
- Rooting hormone powder or gel (optional, helpful for woodier stems)
- Clear plastic bags, or a clear plastic bottle cut in half, to act as a mini greenhouse (optional)
Tools
- Sharp, clean scissors, snips or a small knife
- Rubbing alcohol or hot soapy water for cleaning the blades
- A pencil or chopstick for making holes in the potting mix
- A small watering can or a spray bottle
Before You Start
- Pick the right time. Most plants root fastest in spring and summer, when they are actively growing. Cuttings can be taken in cooler months indoors, but they usually take longer.
- Water the parent plant a day before you take cuttings. A well-watered stem is plump and copes with being cut far better than a stem from a thirsty, drooping plant.
- Clean your scissors or knife with rubbing alcohol or hot soapy water and let them dry. Dirty blades can carry disease into the fresh cut.
- Choose a spot for the cuttings with bright but indirect light, such as near a window that doesn't get harsh midday sun, at normal room temperature.
Step-by-Step Instructions
Step 1: Choose a healthy stem
Look for a stem with healthy green leaves and no signs of pests, yellowing or brown patches. Avoid stems that are flowering, as the plant puts its energy into blooms rather than roots; if there are flower buds on an otherwise good stem, pinch them off. Young, soft-to-medium growth roots more readily than old, woody stems.
Step 2: Find the nodes
A node is the slightly swollen point on the stem where a leaf grows out. On pothos and philodendron you will often see a small brown bump there, which is an aerial root. Roots grow from these nodes, so every cutting must include at least one, and ideally two or three. A piece of stem without a node will not root, however long you leave it.
Step 3: Make the cut
Cut a piece of stem roughly 10–15 cm (4–6 inches) long, making the cut just below a node, about 5 mm beneath it. Cut cleanly in one movement rather than tearing or crushing the stem. For trailing plants like pothos, you can cut one long vine into several pieces, each with a leaf and a node.
Step 4: Remove the lower leaves
Strip the leaves from the bottom half of the cutting, leaving two to four leaves at the top. Leaves sitting under water or soil will rot, and a cutting with too many leaves loses water faster than it can take it up without roots, which makes it wilt. If the remaining leaves are very large, you can cut them in half to reduce water loss.
Step 5: Decide: water or soil?
Water rooting is easy to watch and great for pothos, philodendron, tradescantia, coleus and mint. Soil rooting gives roots that are already used to compost, so there is less of a transition later, and it suits plants that rot easily in water, such as pelargoniums (often called geraniums) and woody herbs like rosemary. Both methods work; try both with spare cuttings and see which you prefer.
Step 6: Rooting in water
Place the cutting in a clean jar so that the bare nodes are under water but the leaves stay above the surface. Clear glass lets you see roots forming, though it also lets algae grow, so rinse the jar if it turns green. Change the water every three to five days, or sooner if it becomes cloudy. Fresh water carries more oxygen, which roots need, and helps prevent rot.
Step 7: Rooting in soil
Fill a small pot with moist, free-draining potting mix. If you are using rooting hormone, dip the cut end in it and tap off the excess; you need only a thin coating. Make a hole with a pencil, insert the cutting so at least one node is below the surface, and firm the mix gently around it. Water lightly. To keep humidity high, cover the pot loosely with a clear plastic bag or half a plastic bottle, opening it for a few minutes each day to let fresh air in.
Step 8: Wait and watch for roots
Soft-stemmed plants like tradescantia and coleus can show roots in about a week; pothos and philodendron usually take two to four weeks; some begonias and woodier plants take longer. In soil you can't see the roots, so look for signs instead: new leaves appearing, or the cutting resisting when you give it a very gentle tug. Don't keep pulling cuttings out to check, as it breaks the new roots.
Step 9: Pot up water-rooted cuttings
Move water-rooted cuttings into soil once the roots are about 2–5 cm (1–2 inches) long. Waiting until roots are very long and tangled can make the move harder, because water roots are delicate. Plant several cuttings together in one pot for a fuller-looking plant. Water well, and keep the potting mix slightly moist, not soggy, for the first two or three weeks while the roots adjust to growing in soil.
Step 10: Care for the young plant
Keep new plants in bright, indirect light and away from cold drafts. Once you see steady new growth, start watering as you would a mature plant of the same type, usually when the top couple of centimetres of compost feel dry. Wait about a month after potting before feeding with a diluted houseplant fertiliser, as young roots are easily scorched by strong feed.
Helpful Tips
- Take more cuttings than you need. Not every cutting will root, and it is far easier to give away spares than to start again.
- Pinching out the very tip of a young plant encourages it to branch, giving you a bushier plant and more material for future cuttings.
- Coloured or frosted jars keep light off the roots and can slow algae, though you won't be able to watch the roots grow quite as easily.
- Basil and mint cuttings from a supermarket bunch often root well in water. Choose firm, fresh stems and remove any flower buds.
- If you are rooting several types of plant, add a small label to each jar. Many young cuttings look surprisingly similar.
- Patience matters. Some cuttings sit for weeks without doing anything visible, then suddenly produce roots. As long as the stem stays firm and green, it is still alive.
Common Mistakes to Avoid
Cutting between nodes
A section of stem without a node has nothing to grow roots from. Always cut just below a node and check that at least one node will be under water or soil.
Leaving too many leaves on
Without roots, the cutting can't replace the water its leaves lose. Keep only two to four leaves, and halve very large ones.
Putting cuttings in strong direct sun
Hot sun scorches rootless cuttings and heats the water in the jar. Bright, indirect light is ideal.
Forgetting to change the water
Old, stale water loses oxygen and grows bacteria, which leads to slimy, rotting stems. Change it every few days.
Waterlogging soil cuttings
Soggy compost starves the stem of air and causes rot. Use a free-draining mix with perlite and keep it just moist.
Troubleshooting
The bottom of the stem has turned brown, soft or slimy
That is rot, usually caused by stale water or soggy soil. Cut off the rotten part with clean scissors, back to firm, healthy tissue just below a node if possible. Rinse the jar, use fresh water, and change it more often.
The cutting is wilting or drooping
It is losing water faster than it can take it in. Remove one or two more leaves, move it out of direct sun, and for soil cuttings, cover with a clear bag to raise the humidity.
The leaves are turning yellow
One or two lower leaves yellowing is normal as the cutting uses their stored energy. If many leaves yellow at once, the stem may be rotting or sitting in too little light. Check the base and move the cutting somewhere brighter.
It has been weeks and there are still no roots
Check the stem is still firm and green. If so, it may just be slow: move it somewhere a little warmer and brighter, and make sure a node is actually under water. If the stem has gone soft or black, start again with a fresh cutting.
The jar water has turned green
Algae grows in clear glass in light. It is mostly harmless, but it competes for oxygen. Rinse the jar and the roots gently under the tap, refill with fresh water, and consider an opaque or coloured container.
The cutting wilted after I moved it into soil
Water roots take time to adjust to soil. Water well, keep the compost lightly moist and keep the plant out of direct sun for a couple of weeks. A loose clear bag over the top for a few days often helps it recover.
Safety Instructions
- Some common houseplants, including pothos, philodendron and dieffenbachia, can irritate the mouth and stomach if chewed. Keep cuttings and young plants out of reach of pets and small children.
- Sap from some plants can irritate skin. Wear gloves if you have sensitive skin, and wash your hands after handling cuttings.
- Use sharp blades carefully and store them closed or capped. Rest the stem on a stable surface to cut it rather than holding it in mid-air.
- Follow the instructions on any rooting hormone product, avoid breathing in the powder and keep it away from children.
- Glass jars on windowsills can tip over. Use heavy-based jars or place them where they won't get knocked by pets or curtains.
Frequently Asked Questions
Which plants are easiest to grow from stem cuttings?
Pothos, heartleaf philodendron, tradescantia, coleus and mint are some of the most reliable for beginners. They often root in water within one to three weeks and are forgiving if conditions aren't perfect.
Is it better to root cuttings in water or soil?
Neither is always better. Water lets you watch the roots and suits many soft-stemmed houseplants. Soil avoids the adjustment of moving later and suits plants that tend to rot in water. Many people use water for easy plants and soil for the rest.
Do I need rooting hormone?
Not for easy plants like pothos, tradescantia or mint, which root well on their own. Rooting hormone can improve success with woodier or slower plants, such as rosemary.
Can I leave cuttings in water permanently?
Some plants, like pothos, can live in water for a long time if you change it regularly and add a very weak liquid fertiliser now and then. Most plants grow stronger and larger in soil in the long run.
Can I grow succulents the same way?
Succulents can be grown from cuttings too, but the method is different. Their cut ends need to dry and seal over for a few days before going into dry, gritty soil, rather than into water.
Why didn't my single-leaf cutting grow into a plant?
Most stem-rooting plants need a piece of stem with a node, not just a leaf. A pothos leaf on its own may grow roots but will never produce a new stem. Plants like African violets and some begonias are exceptions that can grow from leaf cuttings.
More Projects to Try
Simple Macramé Plant Hanger Using Three Basic Knots
Once your trailing cuttings have grown, show them off in a hanging planter you have knotted yourself.
Plastic Bottle Vertical Herb Garden for a Balcony
Rooted mint or basil cuttings can move into this upcycled bottle garden on a sunny wall.
Pressed Flower Glass Frame for a Minimal Wall Display
Another way to bring plants indoors: press leaves and flowers and display them in a simple glass frame.
Conclusion
Growing plants from cuttings is one of the most rewarding things you can do with a houseplant. It takes a few minutes to cut and prepare stems, a few weeks of waiting, and very little else. Start with an easy plant like pothos or tradescantia, put a few cuttings in water on a bright windowsill, and you will soon have more plants than you have room for, which is exactly when they make lovely gifts for friends.
Related articles
More home decoration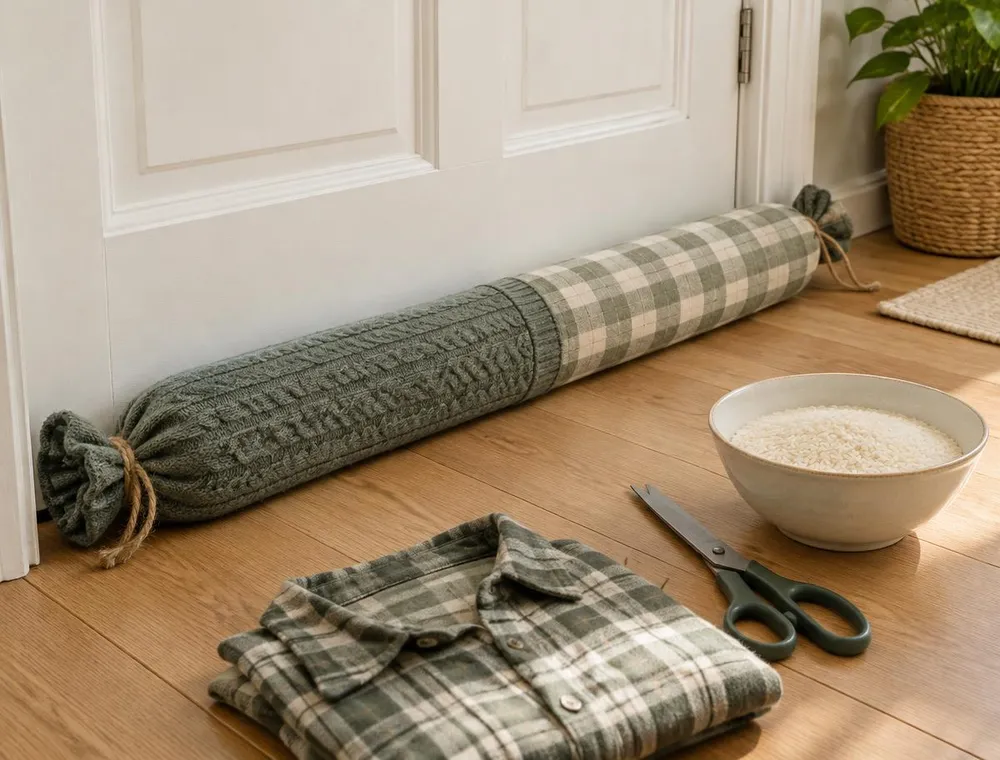
How to Make a No-Sew Door Draft Stopper
Stop cold air sneaking under your doors with a soft, weighted draft stopper made from old clothes. No sewing machine, no needle, just a little cutting, filling and tying.
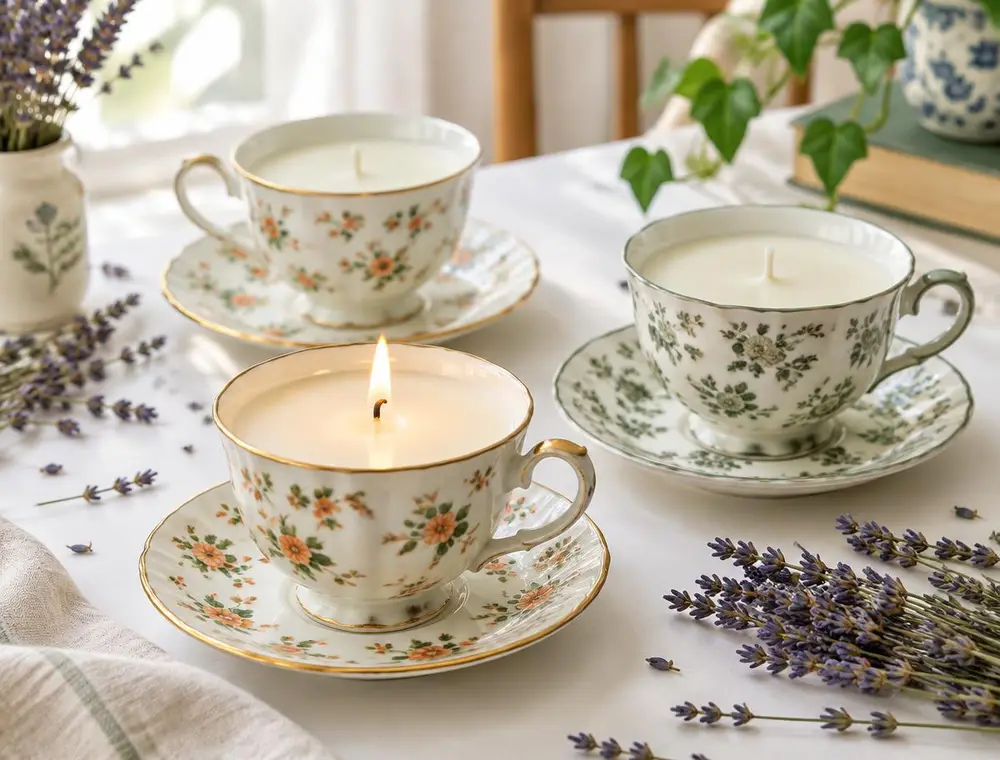
Soy Wax Candles Poured into Thrifted Teacups
Turn odd teacups from a charity shop into pretty candles with soy wax, cotton wicks and a careful double-boiler method.
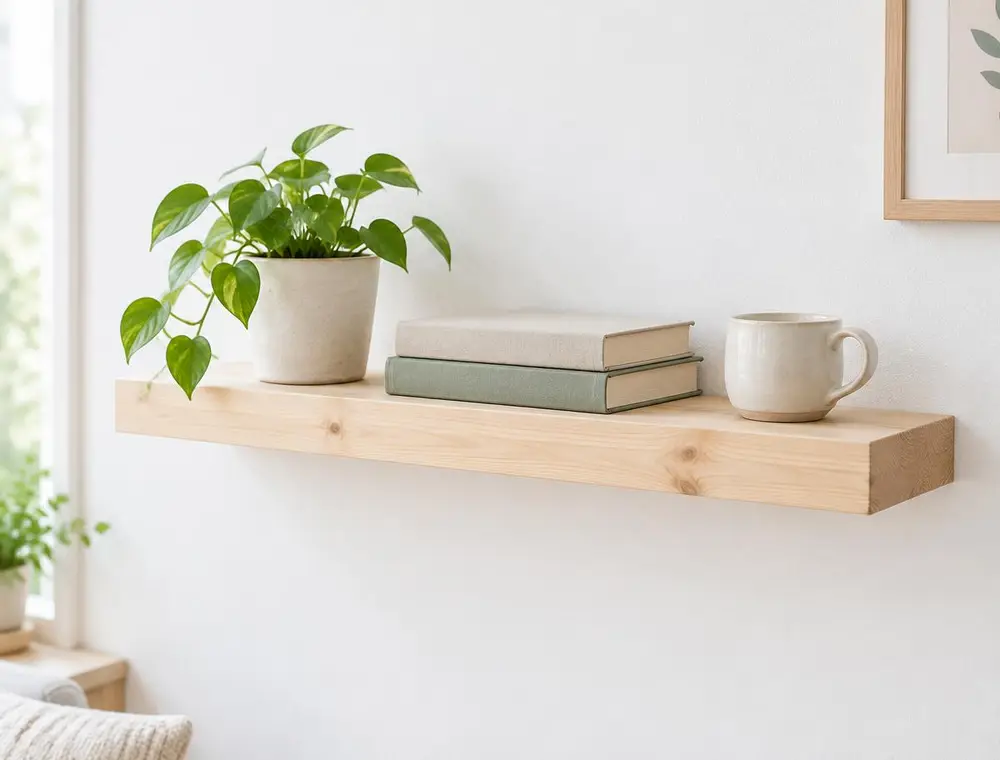
Easy Wooden Floating Shelf from a Single Pine Board
Build a clean, bracket-free shelf using a pine board, a hidden batten and basic tools. Ideal for plants, books and small decor.