Plastic Bottle Vertical Herb Garden for a Balcony
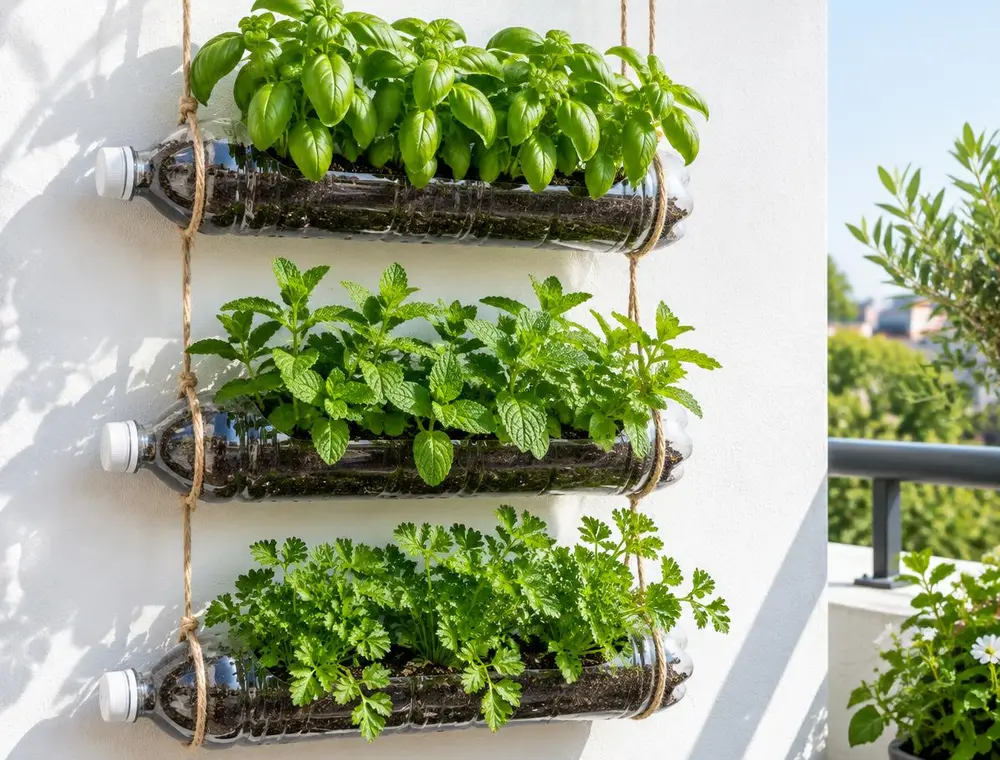
Cut large plastic bottles into planters, hang them with rope and grow basil, mint and parsley in very little space.
- Difficulty
- Easy
- Time
- 1.5 hours
- Published
Introduction
If you have a sunny wall or balcony railing but no floor space, a vertical bottle garden lets you grow fresh herbs in a narrow strip. Large drinks bottles are the perfect size for shallow-rooted herbs.
This guide makes a three-tier garden. Each bottle has a window cut in one side and small drainage holes underneath, hung horizontally between two lengths of rope.
Materials Required
- 3 large clear plastic bottles (1.5–2 litre) with caps
- Strong outdoor rope or cord, about 4 metres
- A craft knife and scissors
- A metal skewer or small drill bit for holes
- Potting mix suited to herbs
- A handful of small stones or gravel
- Herb seedlings such as basil, mint, parsley or chives
- 2 sturdy hooks or screws to hang it from
Step-by-Step Instructions
Step 1: Wash and mark the bottles
Remove labels and wash the bottles. Lay each one on its side and draw a rectangle on the top face, leaving about 4 cm uncut at each end so the bottle stays stiff.
Step 2: Cut the planting window
Pierce the line with a craft knife, then finish cutting with scissors. Smooth any jagged bits with scissors so the edges are neat.
Step 3: Make drainage and rope holes
Make five or six small holes along the bottom with a heated skewer or drill. Then make one hole on each side near the neck and near the base, about 2 cm from the top edge, for the rope to pass through.
Step 4: Thread the rope
Cut the rope in half. Thread one length through the holes on the left side of each bottle and the other through the right side. Tie a firm knot under each bottle to hold it at the height you want, leaving about 30 cm between tiers.
Step 5: Fill and plant
Hang the frame up first so you can check it is level. Add a thin layer of stones to each bottle, fill with potting mix, then plant the seedlings, pressing the soil gently around them.
Step 6: Water carefully
Water the top bottle slowly. Extra water drips through to the bottles below, so the bottom tier stays moist longest. Put herbs that like more water, such as mint, at the bottom.
Helpful Tips
- Herbs need at least four to six hours of sunlight a day.
- Pinch off basil flowers to keep the leaves coming.
- Place a tray under the bottom bottle if dripping water would be a problem.
- Replace the bottles every year or two; sunlight makes plastic brittle over time.
Safety Instructions
- An adult should handle the craft knife and any heated skewer.
- Check that hooks are firmly fixed, as wet soil is heavy and could fall.
- Do not hang the garden over a walkway or where it could drip onto neighbours.
Frequently Asked Questions
Which herbs grow best in bottles?
Shallow-rooted herbs like basil, parsley, mint, chives, thyme and coriander do well. Avoid herbs with deep roots, like rosemary.
Is it safe to grow food in plastic bottles?
Drinks bottles are made from food-grade plastic. Keep them out of extreme heat, wash the herbs before eating and replace the bottles when they become cloudy or brittle.
How often should I water?
Small containers dry out quickly. Check daily in summer by pushing a finger into the soil; water when the top centimetre feels dry.
Conclusion
A bottle herb garden is cheap, useful and a good way to start growing food even in a small flat. Once you have one working, you can extend it with more tiers or start a second column for salad leaves.
Related articles
More recycling projects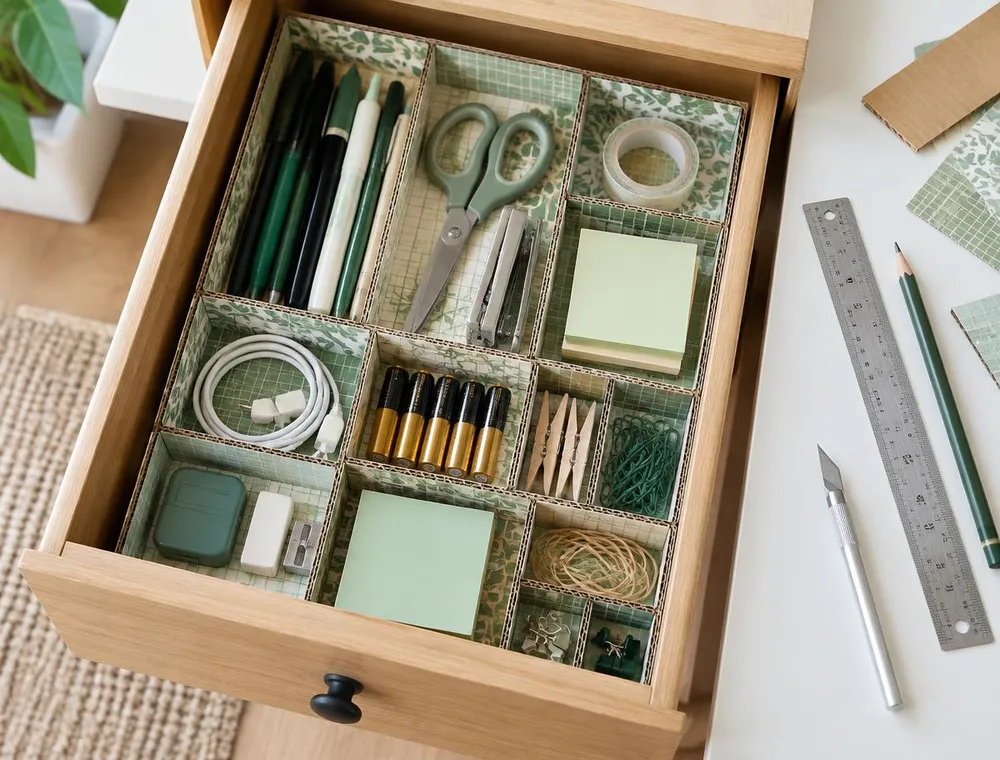
How to Make Drawer Organizers from Cardboard Boxes
Measure your drawer, cut strips from old delivery boxes and slot them together into a custom grid of compartments. Covered in paper, it looks neat and fits exactly.
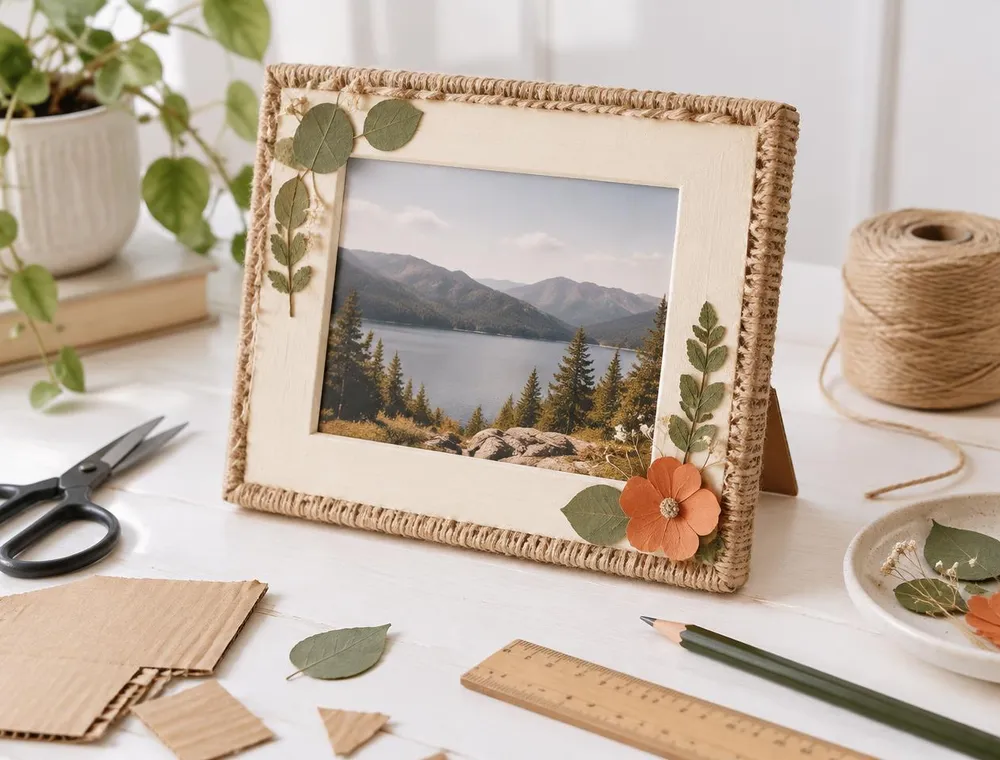
How to Make a Beautiful DIY Photo Frame Using Cardboard at Home
Turn an old delivery box into a sturdy, cream-painted photo frame with jute twine edges, pressed leaves and a slide-in pocket for your favourite 4 × 6 inch print.
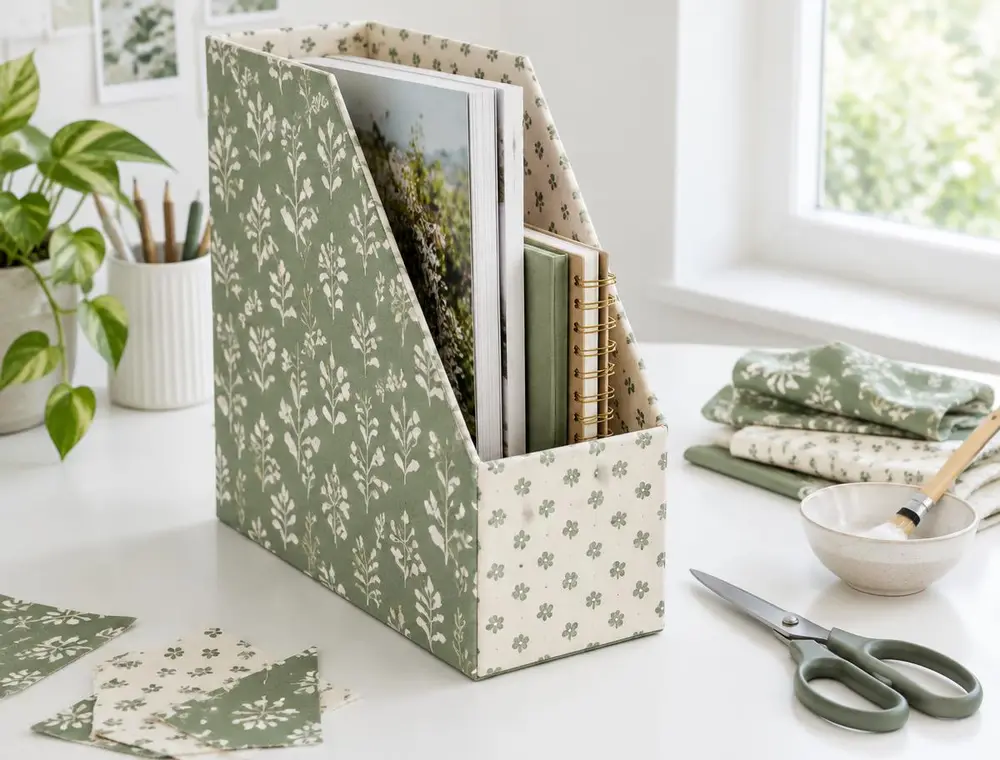
Cereal Box Magazine File Covered in Fabric
Cut an empty cereal box into a magazine file and cover it with fabric scraps for a sturdy shelf organiser that matches your room.