How to Make a Beautiful DIY Photo Frame Using Cardboard at Home
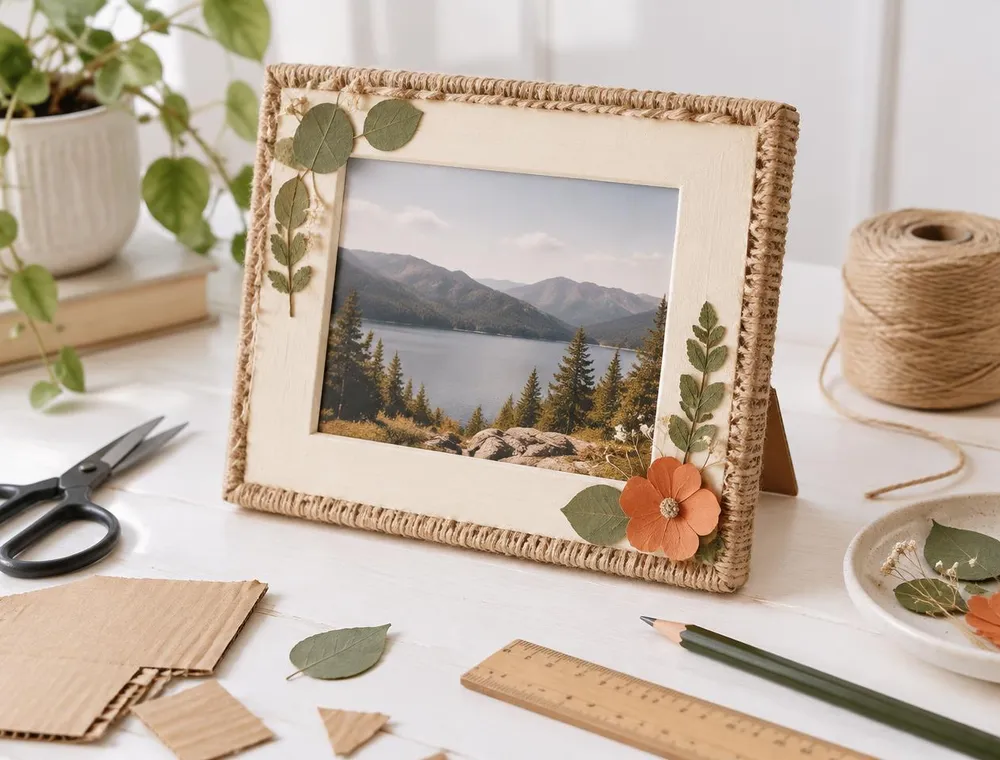
Turn an old delivery box into a sturdy, cream-painted photo frame with jute twine edges, pressed leaves and a slide-in pocket for your favourite 4 × 6 inch print.
- Difficulty
- Easy
- Time
- 2–3 hours plus drying
- Published
Introduction
Most of us have a favourite photo sitting in a drawer or stuck on the fridge with a magnet. A frame makes it feel special, but shop-bought frames can be surprisingly expensive, and they rarely match your room exactly. The good news is that the brown box your last online order arrived in can become a frame that looks handmade in the best way.
In this project you will cut a front, a back and a hidden pocket from corrugated cardboard, glue them together so the frame is stiff, and paint it a soft cream. Jute twine wrapped around the edges hides the rough cardboard layers, and a few pressed leaves and a small paper flower give it a natural finish. A simple fold-out stand at the back lets it sit on a shelf or desk.
The frame below holds a standard 4 × 6 inch (10 × 15 cm) print in landscape. You can easily change the measurements for other photo sizes, and there is a note on how to do that in the steps. No special tools are needed, and the whole project can be finished in an afternoon, apart from drying time.
Materials Required
- A clean, flat corrugated cardboard box (a delivery or shoebox-style box with double walls works best)
- A 4 × 6 inch (10 × 15 cm) photo
- Ruler or steel straight edge, plus a pencil
- Craft knife and a cutting mat (or a thick old magazine as a cutting surface)
- Strong scissors
- White PVA glue, or a hot glue gun with glue sticks
- Cream or off-white acrylic paint (white mixed with a drop of yellow also works)
- A flat paintbrush about 2–3 cm wide
- Jute twine, about 8–10 metres
- A few pressed leaves and small dried flowers, or paper cut into leaf and flower shapes
- Orange or coloured paper for a simple paper flower (optional)
- A clear plastic sheet from food or toy packaging, to protect the photo (optional)
- Clear matte varnish or diluted PVA glue to seal the finish (optional)
Step-by-Step Instructions
Step 1: Choose and prepare your cardboard
Pick cardboard that is flat, dry and free of grease stains. Peel off any tape and labels. If the box has a fold or crease, cut your pieces from the flattest areas, because creases make the frame bend. Corrugated cardboard has small ridges running in one direction; you will use this later to make the frame stronger.
Step 2: Measure and mark the frame pieces
For a 4 × 6 inch photo in landscape, draw two rectangles of 22 × 17 cm for the front, and one more of 22 × 17 cm for the back. On both front pieces, draw a window of 14 × 9 cm in the centre, leaving a 4 cm border all round. The window is slightly smaller than the photo so the edges of the print stay hidden. For a different photo size, make the window 1 cm smaller than the photo in each direction and add 4 cm of border on each side.
Step 3: Cut out the pieces safely
Place the cardboard on a cutting mat and cut along the lines with a craft knife, holding a ruler firmly along the line as a guide. Make two or three light passes rather than one heavy cut; this gives cleaner edges and keeps the blade under control. Cut out the windows the same way, starting each cut at a corner.
Step 4: Glue the two front layers together
Turn one front piece so its ridges run the opposite way to the other, then glue the two together, lining up the windows exactly. Crossing the ridges like this makes the front much stiffer and stops it from bowing. Press the layers under a pile of books for 20–30 minutes while the glue sets.
Step 5: Make the photo pocket
Cut three spacer strips from cardboard: two of 17 × 3 cm and one of 16 × 3.5 cm. Glue the two longer strips along the left and right edges of the back piece, and the shorter strip along the bottom edge, between them. Leave the top edge open. These strips create a gap between the front and back that becomes the slot your photo slides into, and they hold the photo neatly behind the window.
Step 6: Prime and paint the front
Brush a thin coat of PVA glue mixed with a little water over the front piece and let it dry. This seals the cardboard so the paint doesn't soak in unevenly. Then apply two thin coats of cream acrylic paint, letting each coat dry for about 20 minutes. Paint the inner edges of the window too, so no brown shows around the photo. Paint the back piece if you like a neat finish all round.
Step 7: Join the front to the back
Spread glue along the top of the three spacer strips and press the front piece on, matching the outer edges. Check that the open slot is at the top. Weigh the frame down with books for another 30 minutes. If you are using a clear plastic sheet, cut it to 15 × 10 cm and slide it into the slot before the photo.
Step 8: Wrap the edges with jute twine
Put a small line of glue along one outer edge of the frame, then wind the twine tightly around the edge, keeping each turn close to the last. Work about 5 cm at a time so the glue doesn't dry before you reach it. Be careful not to wrap over the top slot. Tuck and glue the loose ends on the back. The twine covers the visible cardboard layers and gives the frame a cosy, rustic border.
Step 9: Add a stand at the back
Cut a long triangle of cardboard 12 cm tall and 5 cm wide at the base. Score a line 2 cm from the narrow top end and fold it. Glue only this small flap to the centre of the back, with the wide end at the bottom. The triangle swings out to hold the frame upright. To hang the frame instead, glue a loop of twine to the upper back before closing it.
Step 10: Decorate and insert your photo
Arrange pressed leaves in two opposite corners and glue them down with tiny dots of PVA. Add a small paper flower: cut five rounded petals from orange paper, curl them slightly with a pencil and glue them around a scrap of twine for the centre. When everything is dry, you can brush a light coat of matte varnish or diluted PVA over the front to protect it. Finally, slide your photo into the top slot.
Helpful Tips
- Measure your photo before cutting anything. Prints sold as 4 × 6 inches can be a millimetre or two different, and a tight slot is hard to use.
- Always use a fresh, sharp blade. A blunt blade tears cardboard and is actually more likely to slip.
- Thin coats of paint dry flatter than one thick coat, which can make the cardboard warp.
- If you don't have pressed leaves, cut leaf shapes from green paper or old greeting cards.
- Make a matching set: two or three frames in the same colour look lovely grouped on a shelf.
- Let the frame dry flat under a light weight overnight before standing it up. This helps it stay straight.
Safety Instructions
- Craft knives are very sharp. Always cut away from your body and keep your other hand behind the blade.
- Children should not use craft knives. An adult can cut the pieces, and children can help with painting, wrapping twine and decorating.
- Hot glue can cause burns. Use a low-temperature glue gun if possible and keep a bowl of cold water nearby.
- Store the blade safely, retracted or capped, as soon as you finish cutting.
- Work in a well-ventilated room when using varnish, and follow the instructions on the label.
Frequently Asked Questions
What kind of cardboard is best for a photo frame?
Corrugated cardboard from a delivery box is ideal because it is thick and stiff. Thin card from cereal or food boxes bends too easily for the front, but it can be used for the stand or decorations.
Can I make this frame for a different photo size?
Yes. Make the window 1 cm smaller than your photo in both directions and add a 4 cm border on every side to get the outer size. Then adjust the spacer strips so the photo sits snugly behind the window without sliding around.
Does the frame need glass?
No. The cardboard holds the photo in place on its own. If you want some protection from dust and fingerprints, use a clear plastic sheet cut from packaging instead of glass. It is lighter and safer.
How long will a cardboard photo frame last?
Kept indoors and away from damp areas like bathrooms, a sealed and painted cardboard frame can last for many years. A coat of varnish helps protect it from dust and light marks.
Can I hang the frame on a wall?
Yes. Glue a loop of twine or ribbon to the upper back of the frame, or attach a small self-adhesive picture hook. The frame is light, so it is easy to hang.
More Projects to Try
Pressed Flower Glass Frame for a Minimal Wall Display
Learn how to press leaves and flowers properly, then use them to decorate this frame or make a second, glass-fronted frame.
Cereal Box Magazine File Covered in Fabric
Another sturdy box project. It uses the same measuring and gluing skills, with fabric instead of paint.
Paper Quilling Flower Wall Art for Beginners
Want something fancier than a simple paper flower for the corner? Quilled flowers add colour and texture.
A Jar of 52 Notes: A Thoughtful Memory Jar Gift
Giving your frame as a present? A memory jar pairs well with a framed photo for birthdays and anniversaries.
Conclusion
A cardboard photo frame is a simple project with a result you will actually use. It keeps a box out of the recycling bin for a little longer, costs very little and can be made to match any room. Once you have made one, try painting the next frame in a different colour, wrapping it in coloured yarn instead of jute, or making a set of small frames as a handmade gift with a family photo inside.
Related articles
More recycling projects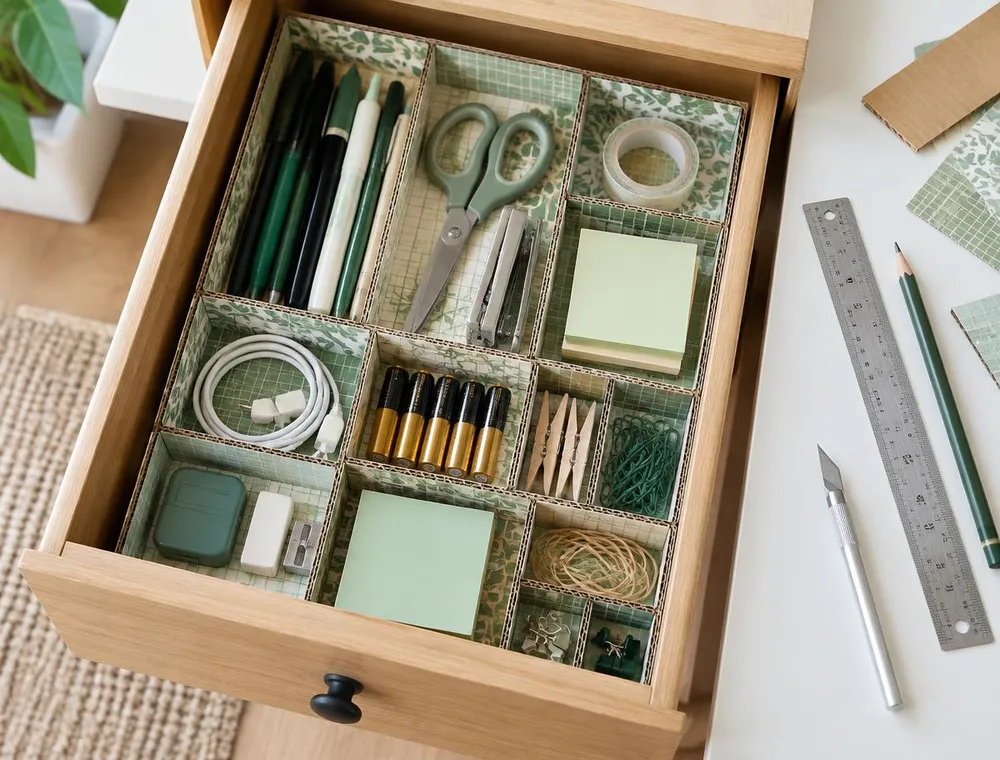
How to Make Drawer Organizers from Cardboard Boxes
Measure your drawer, cut strips from old delivery boxes and slot them together into a custom grid of compartments. Covered in paper, it looks neat and fits exactly.
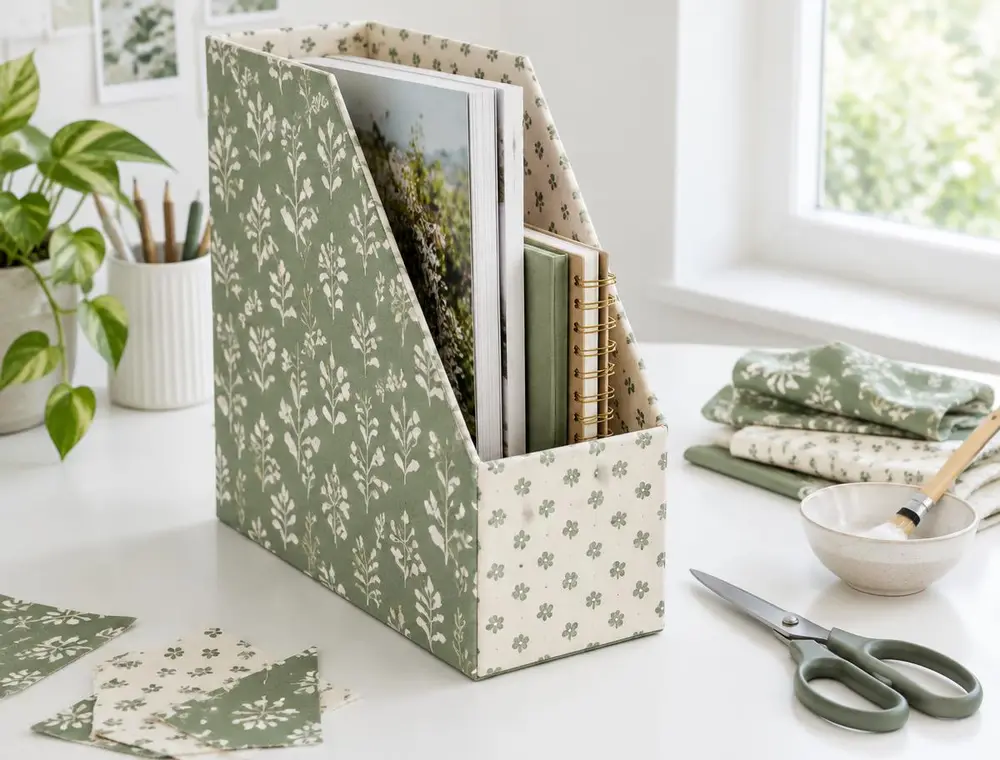
Cereal Box Magazine File Covered in Fabric
Cut an empty cereal box into a magazine file and cover it with fabric scraps for a sturdy shelf organiser that matches your room.
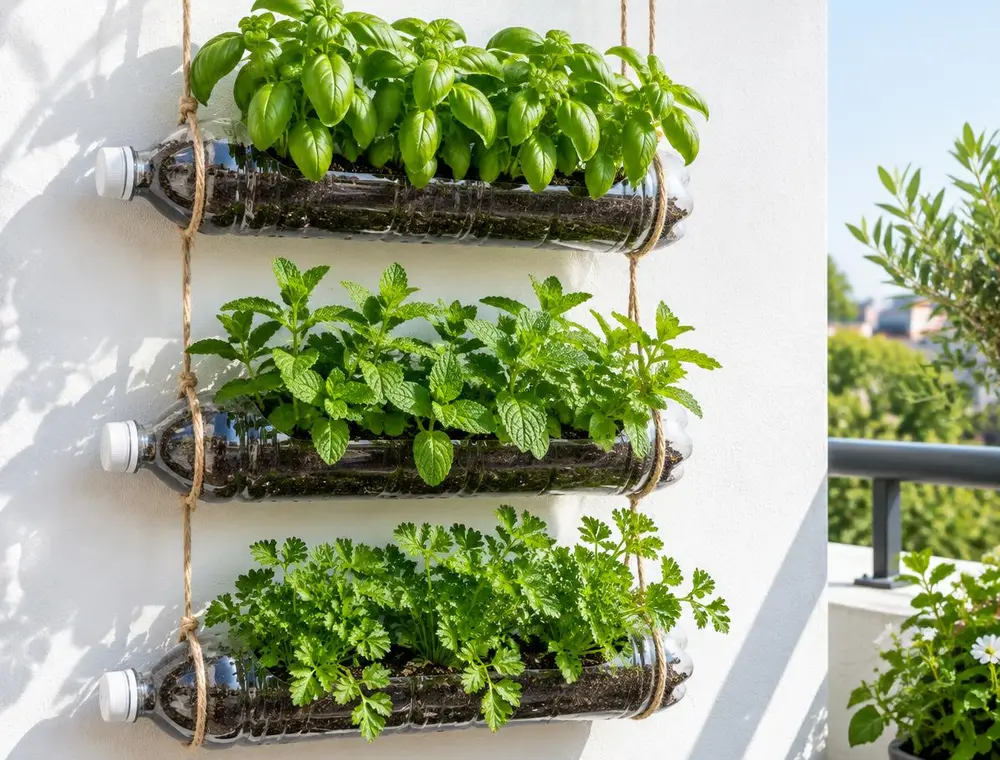
Plastic Bottle Vertical Herb Garden for a Balcony
Cut large plastic bottles into planters, hang them with rope and grow basil, mint and parsley in very little space.