Pressed Flower Glass Frame for a Minimal Wall Display
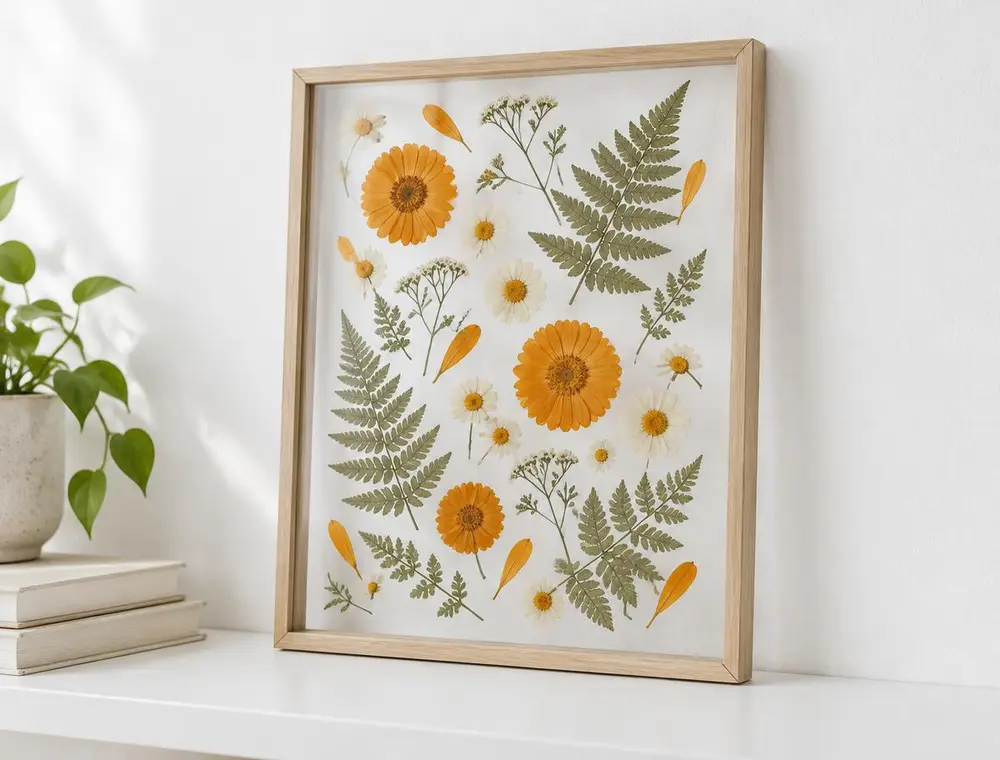
Press garden flowers and ferns in a heavy book, then arrange them between two sheets of glass for a light, airy piece of wall art.
- Difficulty
- Easy
- Time
- 1 hour (plus 2–3 weeks pressing)
- Published
Introduction
A double-glass frame lets the wall show through behind the flowers, so the display feels light rather than heavy. It is a quiet way to keep flowers from a garden, a wedding bouquet or a holiday walk.
The making part takes about an hour. The waiting part, pressing the flowers until they are completely dry, takes two to three weeks. Plan ahead and you will have a lovely piece with very little effort.
Materials Required
- Fresh flowers and leaves: flat blooms like daisies, pansies, cosmos and ferns press best
- A heavy book, plus a few extra books to stack on top
- Plain white printer paper or baking paper
- A floating frame with two glass panes (often sold as 'double glass' or 'herbarium' frames)
- Tweezers
- Clear-drying craft glue or a glue pen (optional)
- Glass cleaner and a lint-free cloth
Step-by-Step Instructions
Step 1: Pick flowers at the right time
Pick on a dry day, late in the morning once the dew has gone. Wet petals turn brown and can go mouldy in the book. Choose blooms that are fully open but not yet dropping petals.
Step 2: Prepare thick flowers
Flatter flowers press better. For a flower with a thick centre, such as a gerbera, slice it carefully in half from the back, or press only the petals and rebuild the flower later.
Step 3: Press them in a book
Open a heavy book near the back, lay a sheet of paper on the page and arrange the flowers so they do not overlap. Add a second sheet on top and close the book. Stack more books on top and leave it somewhere dry.
Step 4: Check after one week
After a week, gently swap the damp paper for fresh sheets. This helps keep colours bright. Close the book again and wait another one to two weeks until the flowers feel papery and dry.
Step 5: Plan the layout
Clean both glass panes thoroughly. Lay one pane on a clean white sheet and move the pressed flowers around with tweezers. Leave plenty of empty space around the edges; minimal displays look best with room to breathe.
Step 6: Secure and close the frame
If any pieces are likely to slide, add the smallest dot of clear glue on the back. Lower the second pane carefully on top, keeping it level so nothing shifts, then fit the frame closed according to its instructions.
Helpful Tips
- Hydrangea petals, larkspur, small ferns and herb leaves like mint keep their colour well.
- Very juicy flowers like roses can be pressed, but change the paper every two or three days.
- Hang the frame away from direct sunlight. Pressed flowers fade over time in bright light.
- Keep a few spare pressed flowers in an envelope in case one breaks while you arrange them.
Safety Instructions
- Handle glass panes by the edges and wear thin gloves if the edges are not ground smooth.
- Do not pick flowers from protected areas or other people's gardens without permission.
Frequently Asked Questions
Can I use a microwave to press flowers faster?
Yes, special microwave flower presses exist and work in minutes. Book pressing is slower but gentler and does not need any special equipment.
Why did my flowers turn brown?
Usually because they were damp when pressed, or the paper was not changed. Pick them dry and swap the paper after the first week.
Will the book get damaged?
The paper sheets protect the pages, but use an old book or telephone directory just in case some moisture comes through.
Conclusion
A pressed flower frame is a slow project, but the result keeps a season on your wall for years. Try making one each season with whatever is growing at the time, and hang them together as a set.
Related articles
More home decoration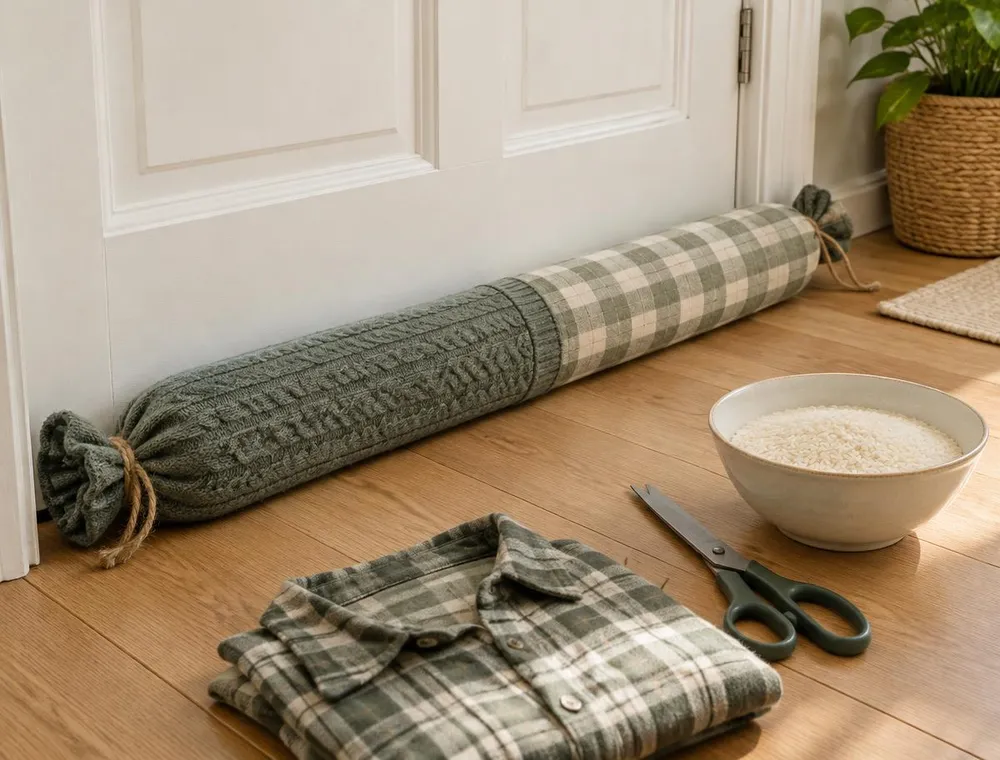
How to Make a No-Sew Door Draft Stopper
Stop cold air sneaking under your doors with a soft, weighted draft stopper made from old clothes. No sewing machine, no needle, just a little cutting, filling and tying.
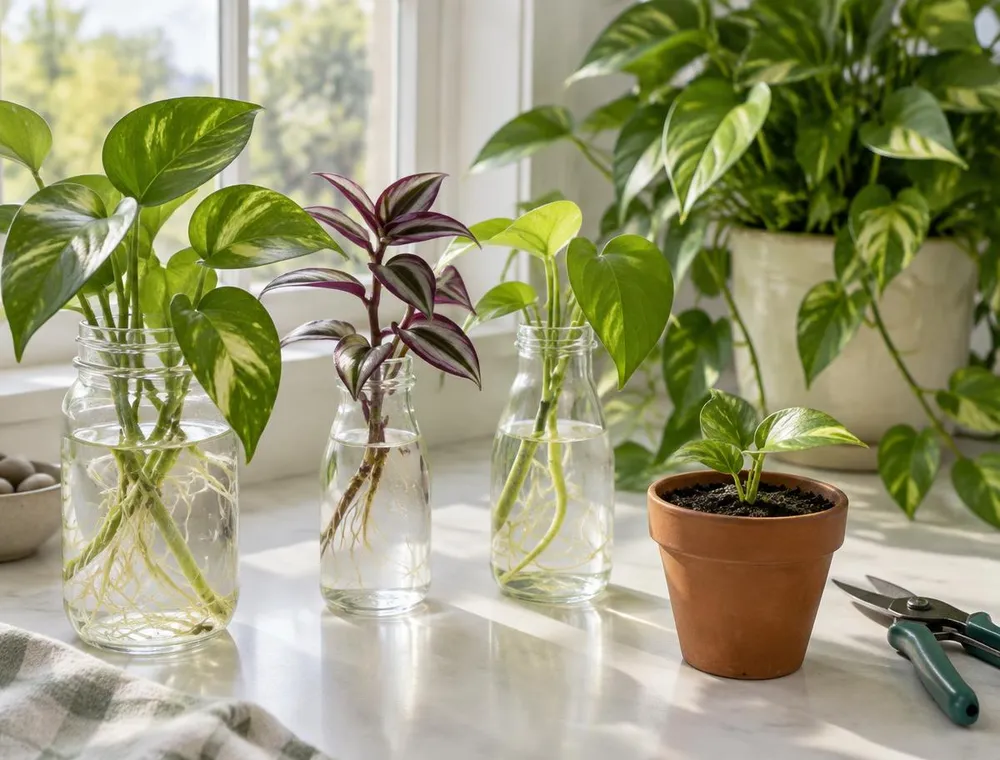
How to Grow New Plants from Stem Cuttings
Turn one healthy plant into several. Learn where to cut, how to prepare stems, how to root them in water or soil, and how to help them settle once they are potted.
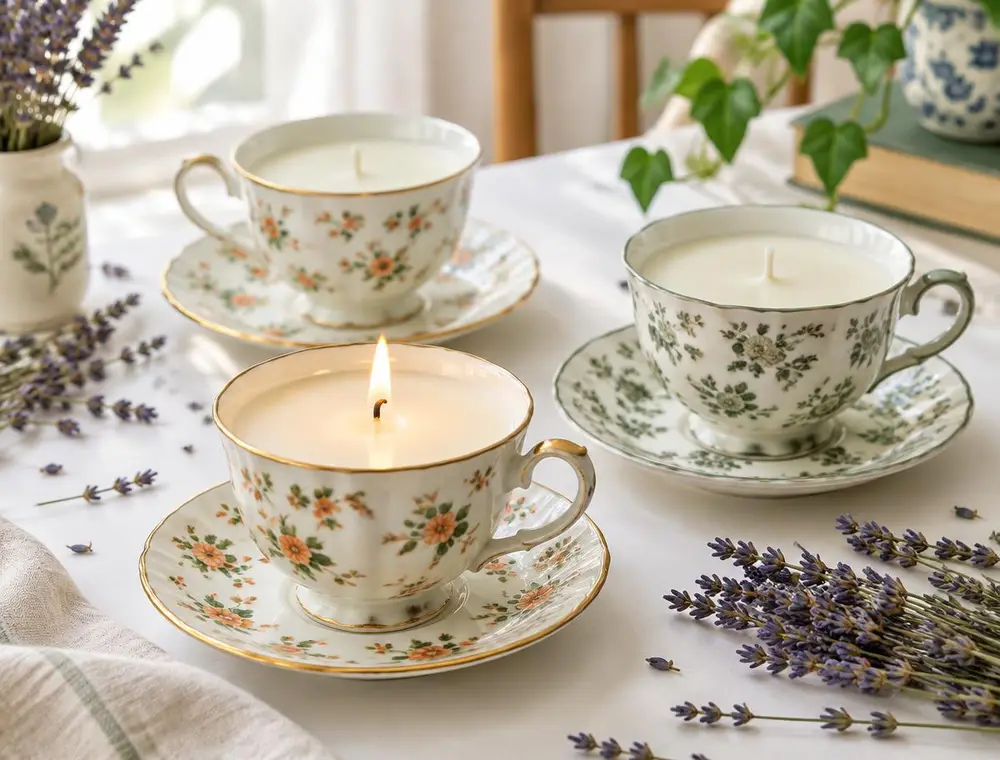
Soy Wax Candles Poured into Thrifted Teacups
Turn odd teacups from a charity shop into pretty candles with soy wax, cotton wicks and a careful double-boiler method.