How to Make Drawer Organizers from Cardboard Boxes
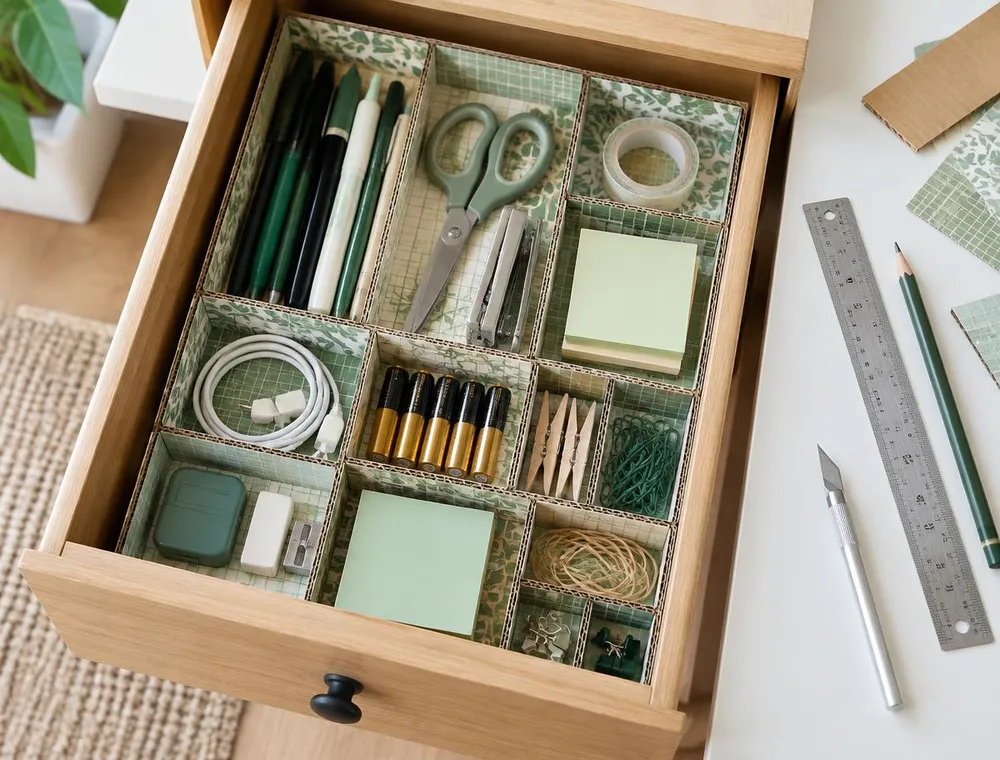
Measure your drawer, cut strips from old delivery boxes and slot them together into a custom grid of compartments. Covered in paper, it looks neat and fits exactly.
- Difficulty
- Easy
- Time
- 2–3 hours plus drying
- Published
Introduction
Almost every home has at least one drawer that has become a jumble of pens, batteries, chargers, elastic bands and things nobody can quite identify. Shop-bought drawer organizers help, but they come in fixed sizes and rarely match the exact width and depth of your drawer, so you end up with awkward gaps where things slide around.
Cardboard solves that problem neatly. Because you cut it yourself, every compartment can be sized for what it actually holds: a long narrow slot for pens, a square for sticky notes, a deeper section for a roll of tape. Delivery boxes are made from corrugated board, which is surprisingly strong when it is cut and assembled the right way.
This guide uses an interlocking grid. Long strips run from the front of the drawer to the back, and shorter strips cross them, with matching slots so they lock together like the dividers in a wine box. It needs no glue to hold its shape, can be adjusted later, and once covered with paper it looks tidy rather than temporary.
Materials and Tools
Materials
- Two or three clean, dry corrugated cardboard delivery boxes with flat, uncreased sides
- Decorative paper, wrapping paper, wallpaper samples or old maps to cover the strips
- White PVA glue, or a glue stick for the paper covering
- Brown paper tape or masking tape for strengthening edges
- Clear matte decoupage medium or diluted PVA glue to seal the paper (optional)
- A thin sheet of card for a base panel (optional, for very small items)
Tools
- A tape measure or a 30 cm ruler
- A steel ruler or straight edge for cutting against
- A sharp craft knife with spare blades
- A cutting mat, or a thick piece of scrap cardboard to protect your table
- A pencil and a set square, or the corner of a hardback book, for accurate right angles
- A flat paintbrush or old plastic card for spreading glue
Before You Start
- Empty the drawer completely and sort the contents into groups. Throw away dried-up pens, old receipts and anything broken. You only want to build compartments for things you will keep.
- Lay each group on the table and note roughly how much space it takes up. Long items, such as rulers or scissors, decide the length of some compartments; small items, such as clips, need only a little square.
- Sketch the drawer from above on paper and draw in your compartments. Keep the layout simple to begin with: two or three long strips with a few cross pieces is easier to build and still very effective.
- Flatten the boxes and remove all tape, staples and labels. Look at the cut edge of the cardboard to see which way the internal ridges (flutes) run; you will cut strips so these run up and down, which makes them stiffer.
Step-by-Step Instructions
Step 1: Measure the inside of the drawer
Measure the inside width, from side to side, and the inside depth, from front to back, at the bottom of the drawer, since many drawers taper slightly. Then measure the height from the base to the top edge of the drawer sides. Take 3–5 mm off the width and depth so the grid can drop in easily, and take about 1 cm off the height so the drawer will close without catching on the cabinet above.
Step 2: Mark out the long strips
On a flat piece of cardboard, draw strips as long as the adjusted drawer depth and as tall as your adjusted height. Position them so the flutes run vertically, from top to bottom of each strip. Use a set square to make the ends exactly 90 degrees; a slightly slanted end will make the whole grid lean. You need one long strip for each front-to-back dividing line in your sketch.
Step 3: Mark out the cross strips
Cross strips run from side to side and are the same height as the long strips. A cross strip that spans the full drawer should be as long as the adjusted width. Label each strip lightly in pencil so you remember where it goes. If you want some sections without a full-width divider, cut a short strip to fit the gap between two long strips, adding 1 cm at each end; fold those ends into small tabs and glue them to the long strips.
Step 4: Cut the strips accurately
Lay the steel ruler along the line and hold it down firmly with your flat hand, fingers well away from the edge. Run the knife along the ruler, moving away from your body, in three or four light passes rather than one heavy one. Light passes keep the blade under control, give a clean edge and stop the corrugated layers from crushing. Change to a fresh blade as soon as the cut starts to tear.
Step 5: Mark the slots
Lay the strips out as they will sit in the drawer and mark where each cross strip meets a long strip. At each crossing point, draw a slot exactly as wide as the cardboard is thick, usually 3–4 mm. On the long strips, the slot runs from the bottom edge up to the middle. On the cross strips, it runs from the top edge down to the middle. That way, the two halves slide together and the tops end up level.
Step 6: Cut and test the slots
Cut down both sides of each slot with the craft knife, then cut across the end and remove the narrow piece. Before cutting every slot, test the first pair: they should slide together with gentle pressure and stay put. If the fit is too tight, shave a sliver off one side; if it is loose, make the remaining slots slightly narrower.
Step 7: Strengthen the top edges
The top edges of corrugated board are where the open flutes show and where wear happens first. Fold a strip of brown paper tape or masking tape along each top edge, pressing it down on both faces. This hides the ridges, stops the edge from fraying and makes the strips noticeably stiffer.
Step 8: Cover the strips with paper
Cut paper slightly larger than each strip. Brush a thin coat of glue over one face of the cardboard, lay the paper on, and smooth it from the centre outwards with a clean, dry cloth or an old plastic card to push out bubbles. Wrap the extra over the top edge and trim. Recut the slots through the paper with the knife. Cover the second side the same way. Leave the strips to dry flat under a few books for at least an hour so they don't warp.
Step 9: Seal the finish (optional)
For a wipeable surface, brush a thin coat of matte decoupage medium or diluted PVA glue over the paper and let it dry. This is worth doing in kitchen drawers or anywhere the organizer might be handled with damp hands. Use thin coats; a thick, wet layer will soak in and make the cardboard curl.
Step 10: Assemble the grid in the drawer
Slot the cross strips onto the long strips, pressing down gently until the tops are level. Lower the finished grid into the drawer. It should sit snugly without bulging the sides. If small items keep slipping under the dividers, cut a sheet of thin card to the drawer size, cover it to match, and place it underneath the grid as a base.
Step 11: Fill and fine-tune
Put everything back into its compartment and open and close the drawer a few times. If any section is overflowing or almost empty, it is easy to cut a new cross strip and move a divider. This is one of the big advantages of a slotted grid over a glued box.
Helpful Tips
- Cut all strips of the same height in one go by marking a long band across the cardboard first, then dividing it into lengths. Every piece will match.
- Use a pencil, never a pen, for marking. Pen lines can show through light-coloured paper.
- Double-walled cardboard, which has two layers of flutes, makes the strongest dividers. Single-walled board is fine for shallow drawers.
- Matching the paper to the room makes a big difference. Plain kraft paper looks clean and modern, while a small print hides wear and fingerprints.
- For a kitchen utensil drawer, keep compartments wide so that bulky items like a whisk or masher fit without forcing.
- Leave one compartment empty at the front. It will quickly become the spot for things you use every day, rather than letting them get buried.
Common Mistakes to Avoid
Measuring only the top of the drawer
Many drawers are slightly narrower at the base. Measure at the bottom, inside the drawer, so the grid doesn't jam halfway down.
Making the dividers full drawer height
If the dividers are as tall as the drawer sides, the drawer may catch on the cabinet above. Take about 1 cm off the height.
Cutting strips with the flutes running lengthwise
Strips cut this way bend and fold easily. Turn the cardboard so the flutes run from top to bottom of each strip.
Cutting all the slots before testing one
Cardboard thickness varies from box to box. Cut and test one pair of slots first, then adjust the width for the rest.
Using too much glue under the paper
Wet glue soaks into cardboard and makes it warp. Spread a thin, even coat and press the strips flat while they dry.
Troubleshooting
The slots are so loose the grid wobbles
Wrap a small piece of tape around the joint, or run a thin line of PVA glue into each slot and let it dry. For a firmer structure, add a cardboard frame around the outside edge of the grid to hold everything square.
The slots are too tight and the cardboard crushes
Shave a thin sliver from one side of each slot with the craft knife. Don't force the pieces together, as crushed corrugation never springs back.
The tops of the strips don't line up
One slot is deeper than the other. Check that each slot runs exactly to the halfway point; if a strip sits too high, trim a little from its bottom edge to level it.
The strips curled after covering
One side got wetter than the other. Cover the opposite face too, which usually pulls the strip straight again, then press it flat under books until completely dry.
The paper has bubbles or wrinkles
Prick small bubbles with a pin and press flat. For bigger wrinkles, lift the paper while the glue is still wet and smooth it again from the centre outwards.
The drawer won't close properly
The grid is too tall or is sitting on something. Lift it out, check nothing is trapped underneath, and trim a few millimetres from the top of the tallest strips if needed.
Safety Instructions
- Craft knives are very sharp. Keep the hand holding the ruler flat on top of it, well away from the cutting edge, and cut away from your body.
- Use a steel ruler for cutting. Blades can slice into plastic or wooden rulers and jump off the line.
- Retract or cap the blade every time you put the knife down, and dispose of old blades in a sealed container.
- Children can measure, plan the layout, glue paper and assemble the grid, but an adult should do all the cutting.
- Work in a well-ventilated room when using sealers or decoupage medium.
Frequently Asked Questions
Will cardboard drawer organizers last?
In a dry drawer, covered and sealed cardboard dividers can last for years. They are less suitable for places that get wet, such as under a sink, where plastic or wood is a better choice.
What kind of cardboard is best?
Corrugated delivery boxes, especially double-walled ones, are best because they are thick and rigid. Thin card from cereal boxes is too flimsy for dividers but works well as a covering or base panel.
Do I need to glue the dividers together?
Not usually. Well-fitted slots hold the grid together on their own, which also means you can rearrange it later. Add a dot of glue only if a joint is loose.
Can I make organizers for a deep drawer?
Yes. Make taller strips and consider doubling them up, gluing two layers together with the flutes crossing, for extra stiffness. You can also make small open boxes that sit side by side inside a deep drawer.
How do I stop the paper from peeling at the edges?
Wrap the paper over the top edge of each strip rather than cutting it flush, and seal the finished surface with a thin coat of decoupage medium or diluted PVA.
More Projects to Try
Cereal Box Magazine File Covered in Fabric
Uses the same measuring, cutting and covering skills to turn a cereal box into a smart magazine file.
Tin Can Desk Organiser with Painted Stripes
Need storage on top of the desk as well as inside it? Painted tins hold pens and brushes upright.
How to Make a Beautiful DIY Photo Frame Using Cardboard at Home
Have cardboard left over? Turn a flat piece into a sturdy, painted photo frame.
Conclusion
A made-to-measure drawer organizer is one of the most satisfying ways to reuse delivery boxes. It fits your drawer exactly, holds exactly what you need, and can be changed whenever your needs change. Start with the drawer that annoys you most, keep the layout simple, and once you see how much easier it is to find things, you will probably want to do the rest of the house.
Related articles
More recycling projects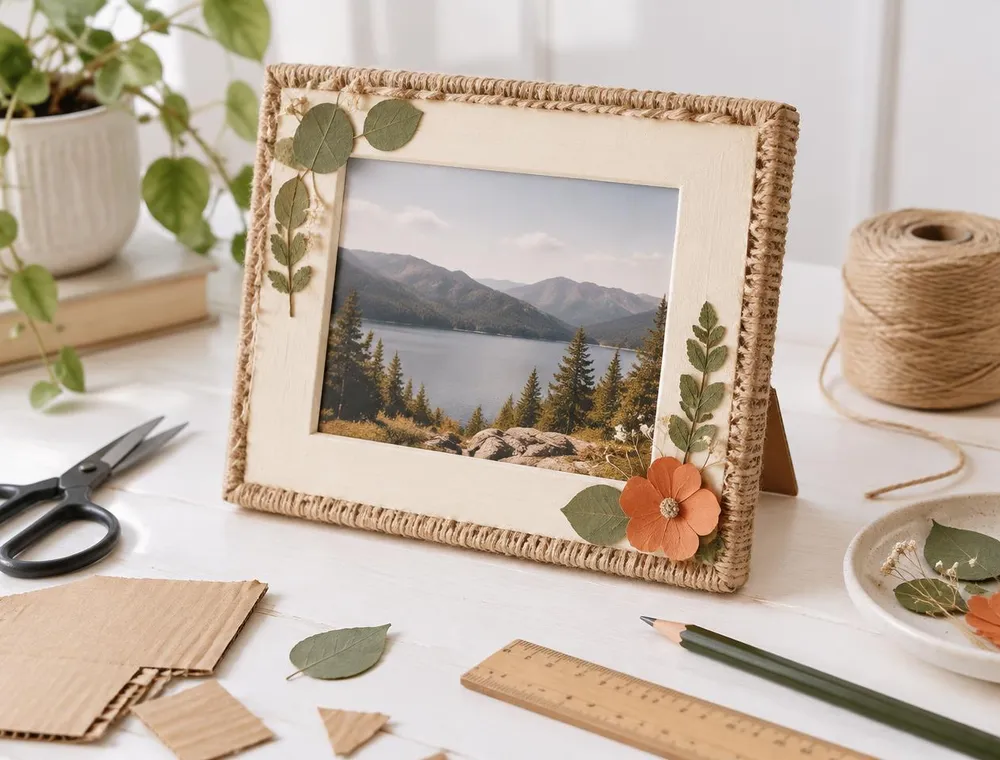
How to Make a Beautiful DIY Photo Frame Using Cardboard at Home
Turn an old delivery box into a sturdy, cream-painted photo frame with jute twine edges, pressed leaves and a slide-in pocket for your favourite 4 × 6 inch print.
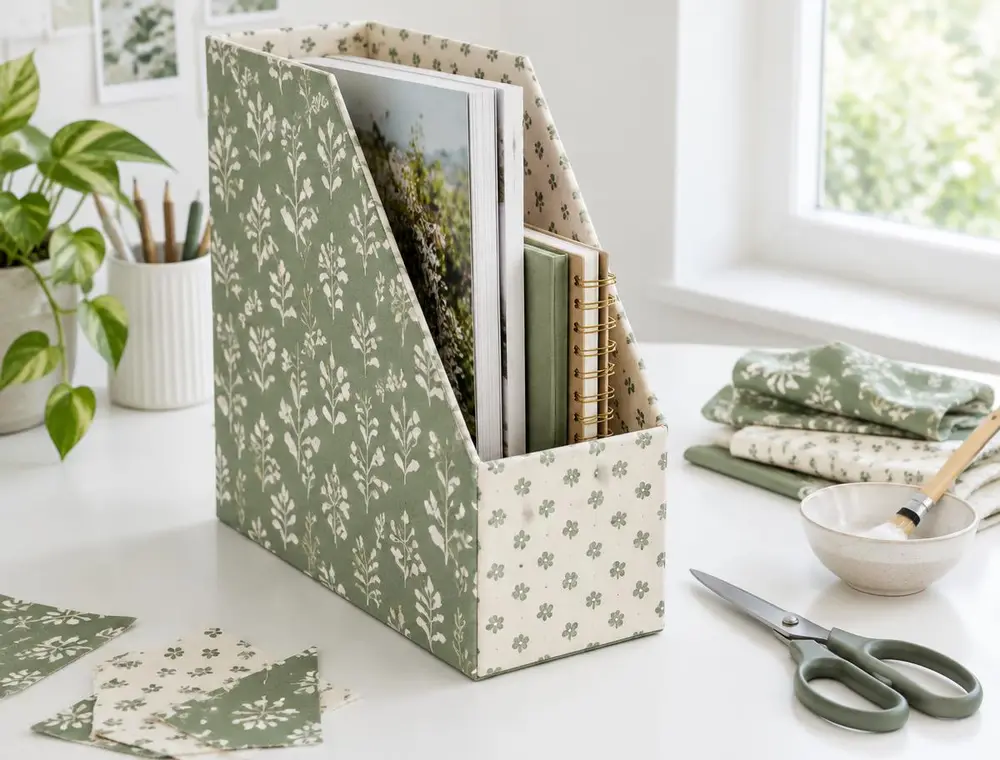
Cereal Box Magazine File Covered in Fabric
Cut an empty cereal box into a magazine file and cover it with fabric scraps for a sturdy shelf organiser that matches your room.
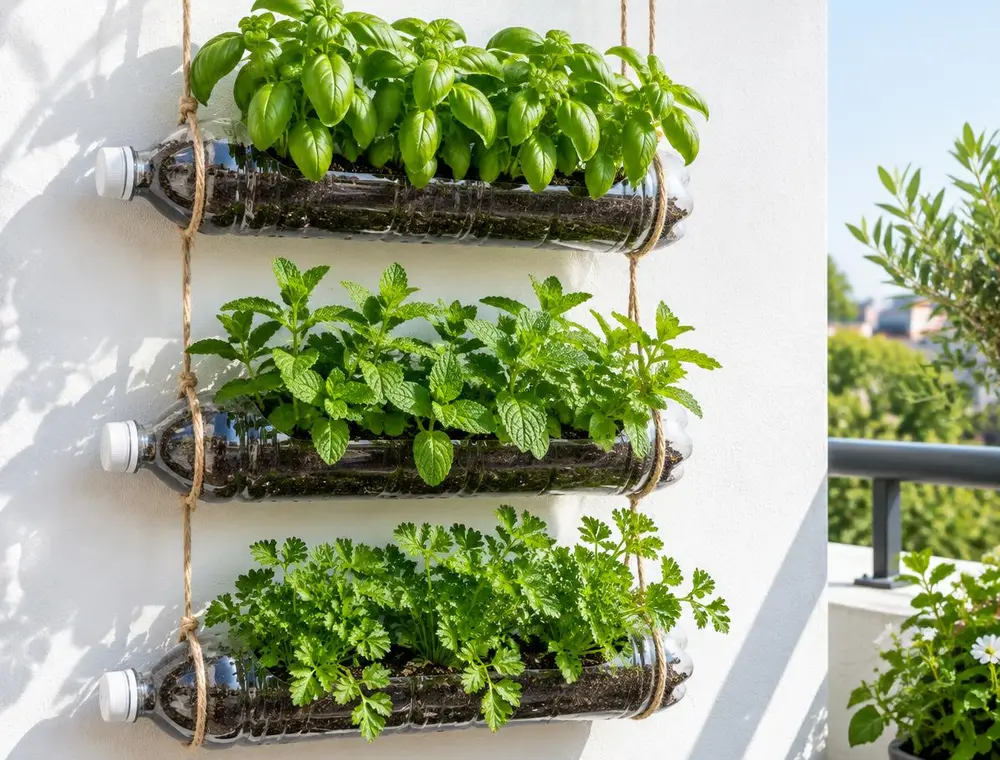
Plastic Bottle Vertical Herb Garden for a Balcony
Cut large plastic bottles into planters, hang them with rope and grow basil, mint and parsley in very little space.