Tin Can Desk Organiser with Painted Stripes
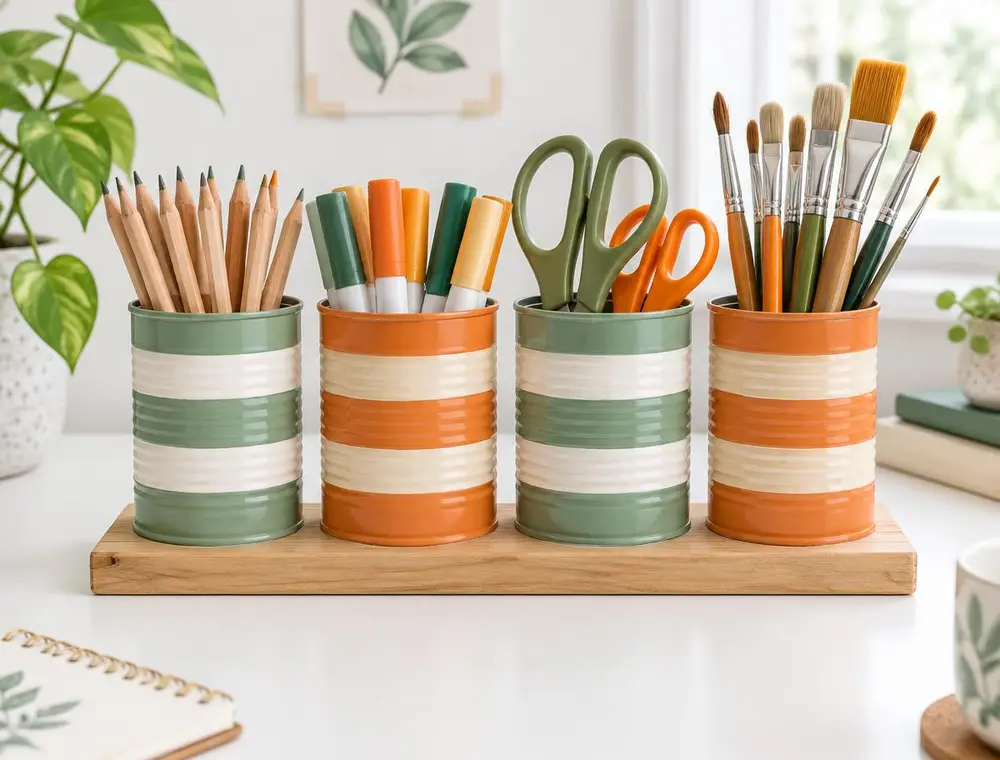
Clean out a few food tins, paint them with bold stripes and fix them to a wooden base for a tidy desk caddy.
- Difficulty
- Easy
- Time
- 2 hours plus drying
- Published
Introduction
Food tins are strong, waterproof and already the right shape for holding pens. With a coat of paint, they look like something from a design shop rather than the recycling bin.
This project uses four tins of slightly different heights for visual interest. You can make it with just paint and tape, or add the wooden base for a more finished look.
Materials Required
- 4 empty food tins with smooth rims (use a safety can opener if possible)
- Spray primer suitable for metal, or a brush-on metal primer
- Acrylic or chalk paint in three colours
- Low-tack painter's tape
- A flat paintbrush
- A wooden board about 35 × 10 cm (an offcut is ideal)
- Strong multi-purpose glue or construction adhesive
- Sandpaper and clear water-based varnish (optional)
Step-by-Step Instructions
Step 1: Clean the tins properly
Remove the labels by soaking the tins in warm soapy water. Rub off any leftover glue with a little cooking oil, then wash again. Dry thoroughly so they do not rust under the paint.
Step 2: Check and smooth the rims
Run a finger carefully around the inside rim. If any edge feels sharp, press it flat with a spoon or file it smooth. This is the most important step for safety.
Step 3: Prime the tins
In a ventilated space, give each tin a thin coat of metal primer. Paint will peel off bare metal quickly without it. Let it dry fully.
Step 4: Paint the base colour
Paint each tin in your lightest colour, the cream in this example. Two thin coats look better than one thick one.
Step 5: Tape and paint the stripes
Wrap painter's tape around each tin to mark the stripes. Press the tape edges down firmly. Paint the exposed bands in your second and third colours, then peel off the tape while the last coat is still slightly wet for crisp lines.
Step 6: Fix the tins to the base
Sand and varnish the wooden board if you like. Arrange the tins in a row, mark their positions, then glue each one down. Leave under a light weight overnight to bond.
Helpful Tips
- Ribbed tins look great with stripes that follow the ridges, which also makes taping easier.
- Seal the paint with clear varnish if the organiser will be handled a lot.
- Smaller tins, such as tomato paste tins, are perfect for paper clips and erasers.
Safety Instructions
- Tin edges can be very sharp. Wear gloves while cleaning and check rims carefully.
- Use spray paint and primer outdoors or with windows open, and wear a mask.
- Children can help with painting, but an adult should handle cleaning and rim checks.
Frequently Asked Questions
Can I skip the primer?
Chalk paint grips metal reasonably well, but acrylic paint will scratch off easily without primer. Primer is worth the extra step.
What if I do not have a wooden board?
Glue the tins to each other in a cluster with strong glue, or leave them freestanding.
How do I stop rust?
Dry the tins completely before priming and avoid leaving damp brushes inside them.
Conclusion
A painted tin organiser takes an afternoon and keeps a desk tidy for years. Make a matching one for the kitchen to hold wooden spoons, or for a craft corner to store brushes.
Related articles
More recycling projects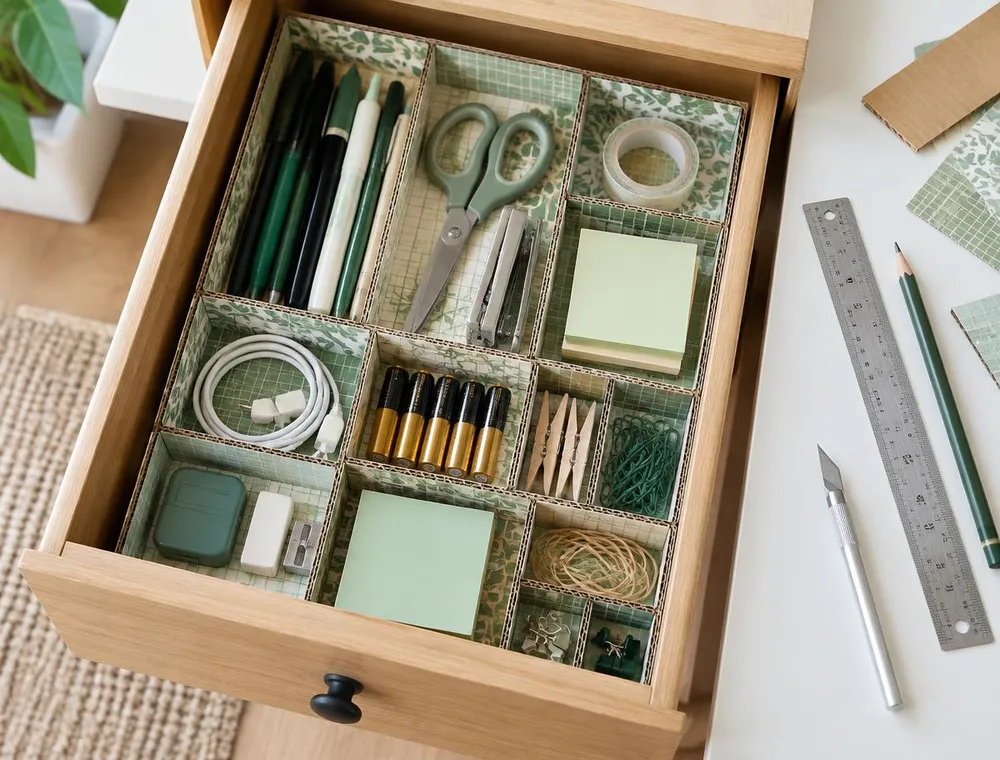
How to Make Drawer Organizers from Cardboard Boxes
Measure your drawer, cut strips from old delivery boxes and slot them together into a custom grid of compartments. Covered in paper, it looks neat and fits exactly.
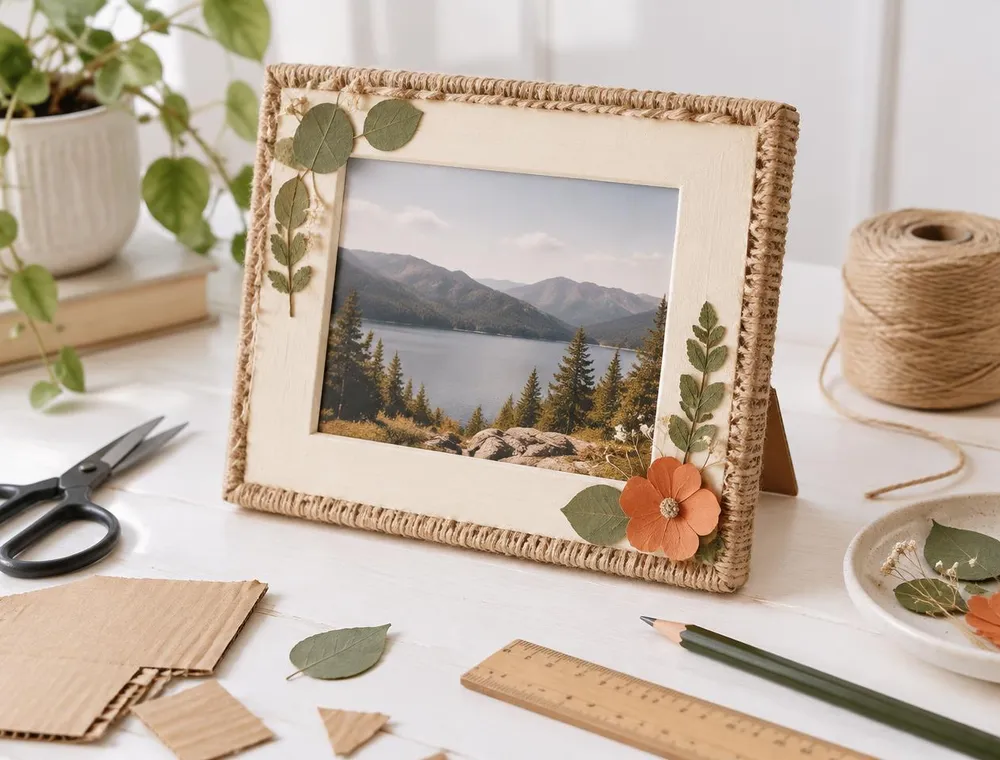
How to Make a Beautiful DIY Photo Frame Using Cardboard at Home
Turn an old delivery box into a sturdy, cream-painted photo frame with jute twine edges, pressed leaves and a slide-in pocket for your favourite 4 × 6 inch print.
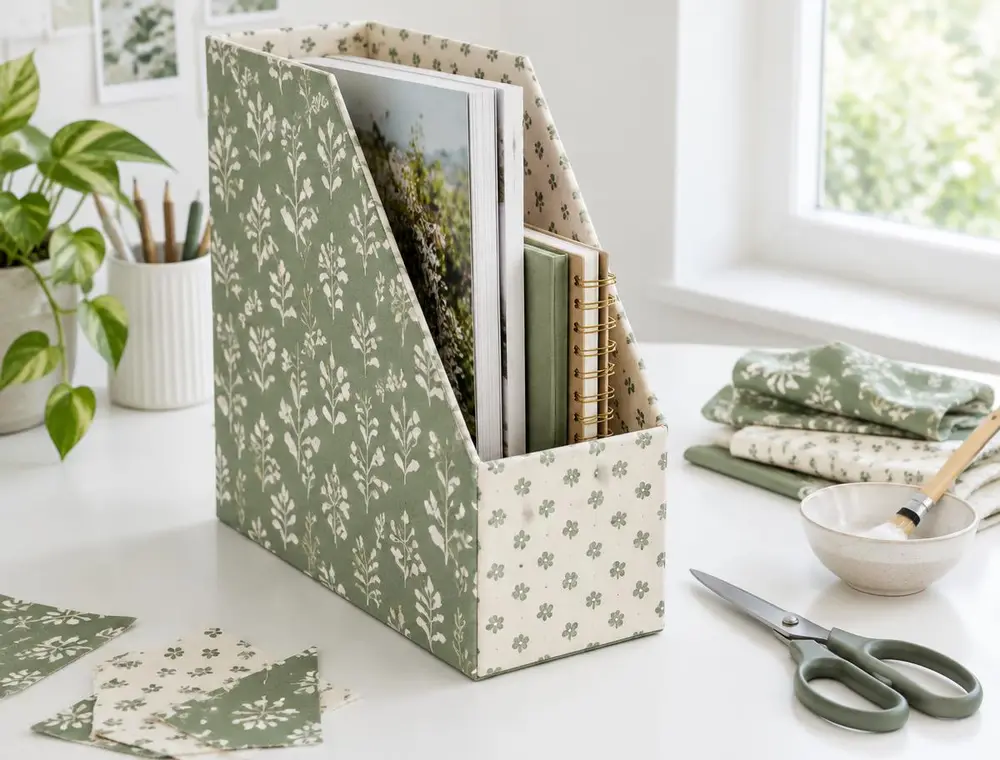
Cereal Box Magazine File Covered in Fabric
Cut an empty cereal box into a magazine file and cover it with fabric scraps for a sturdy shelf organiser that matches your room.